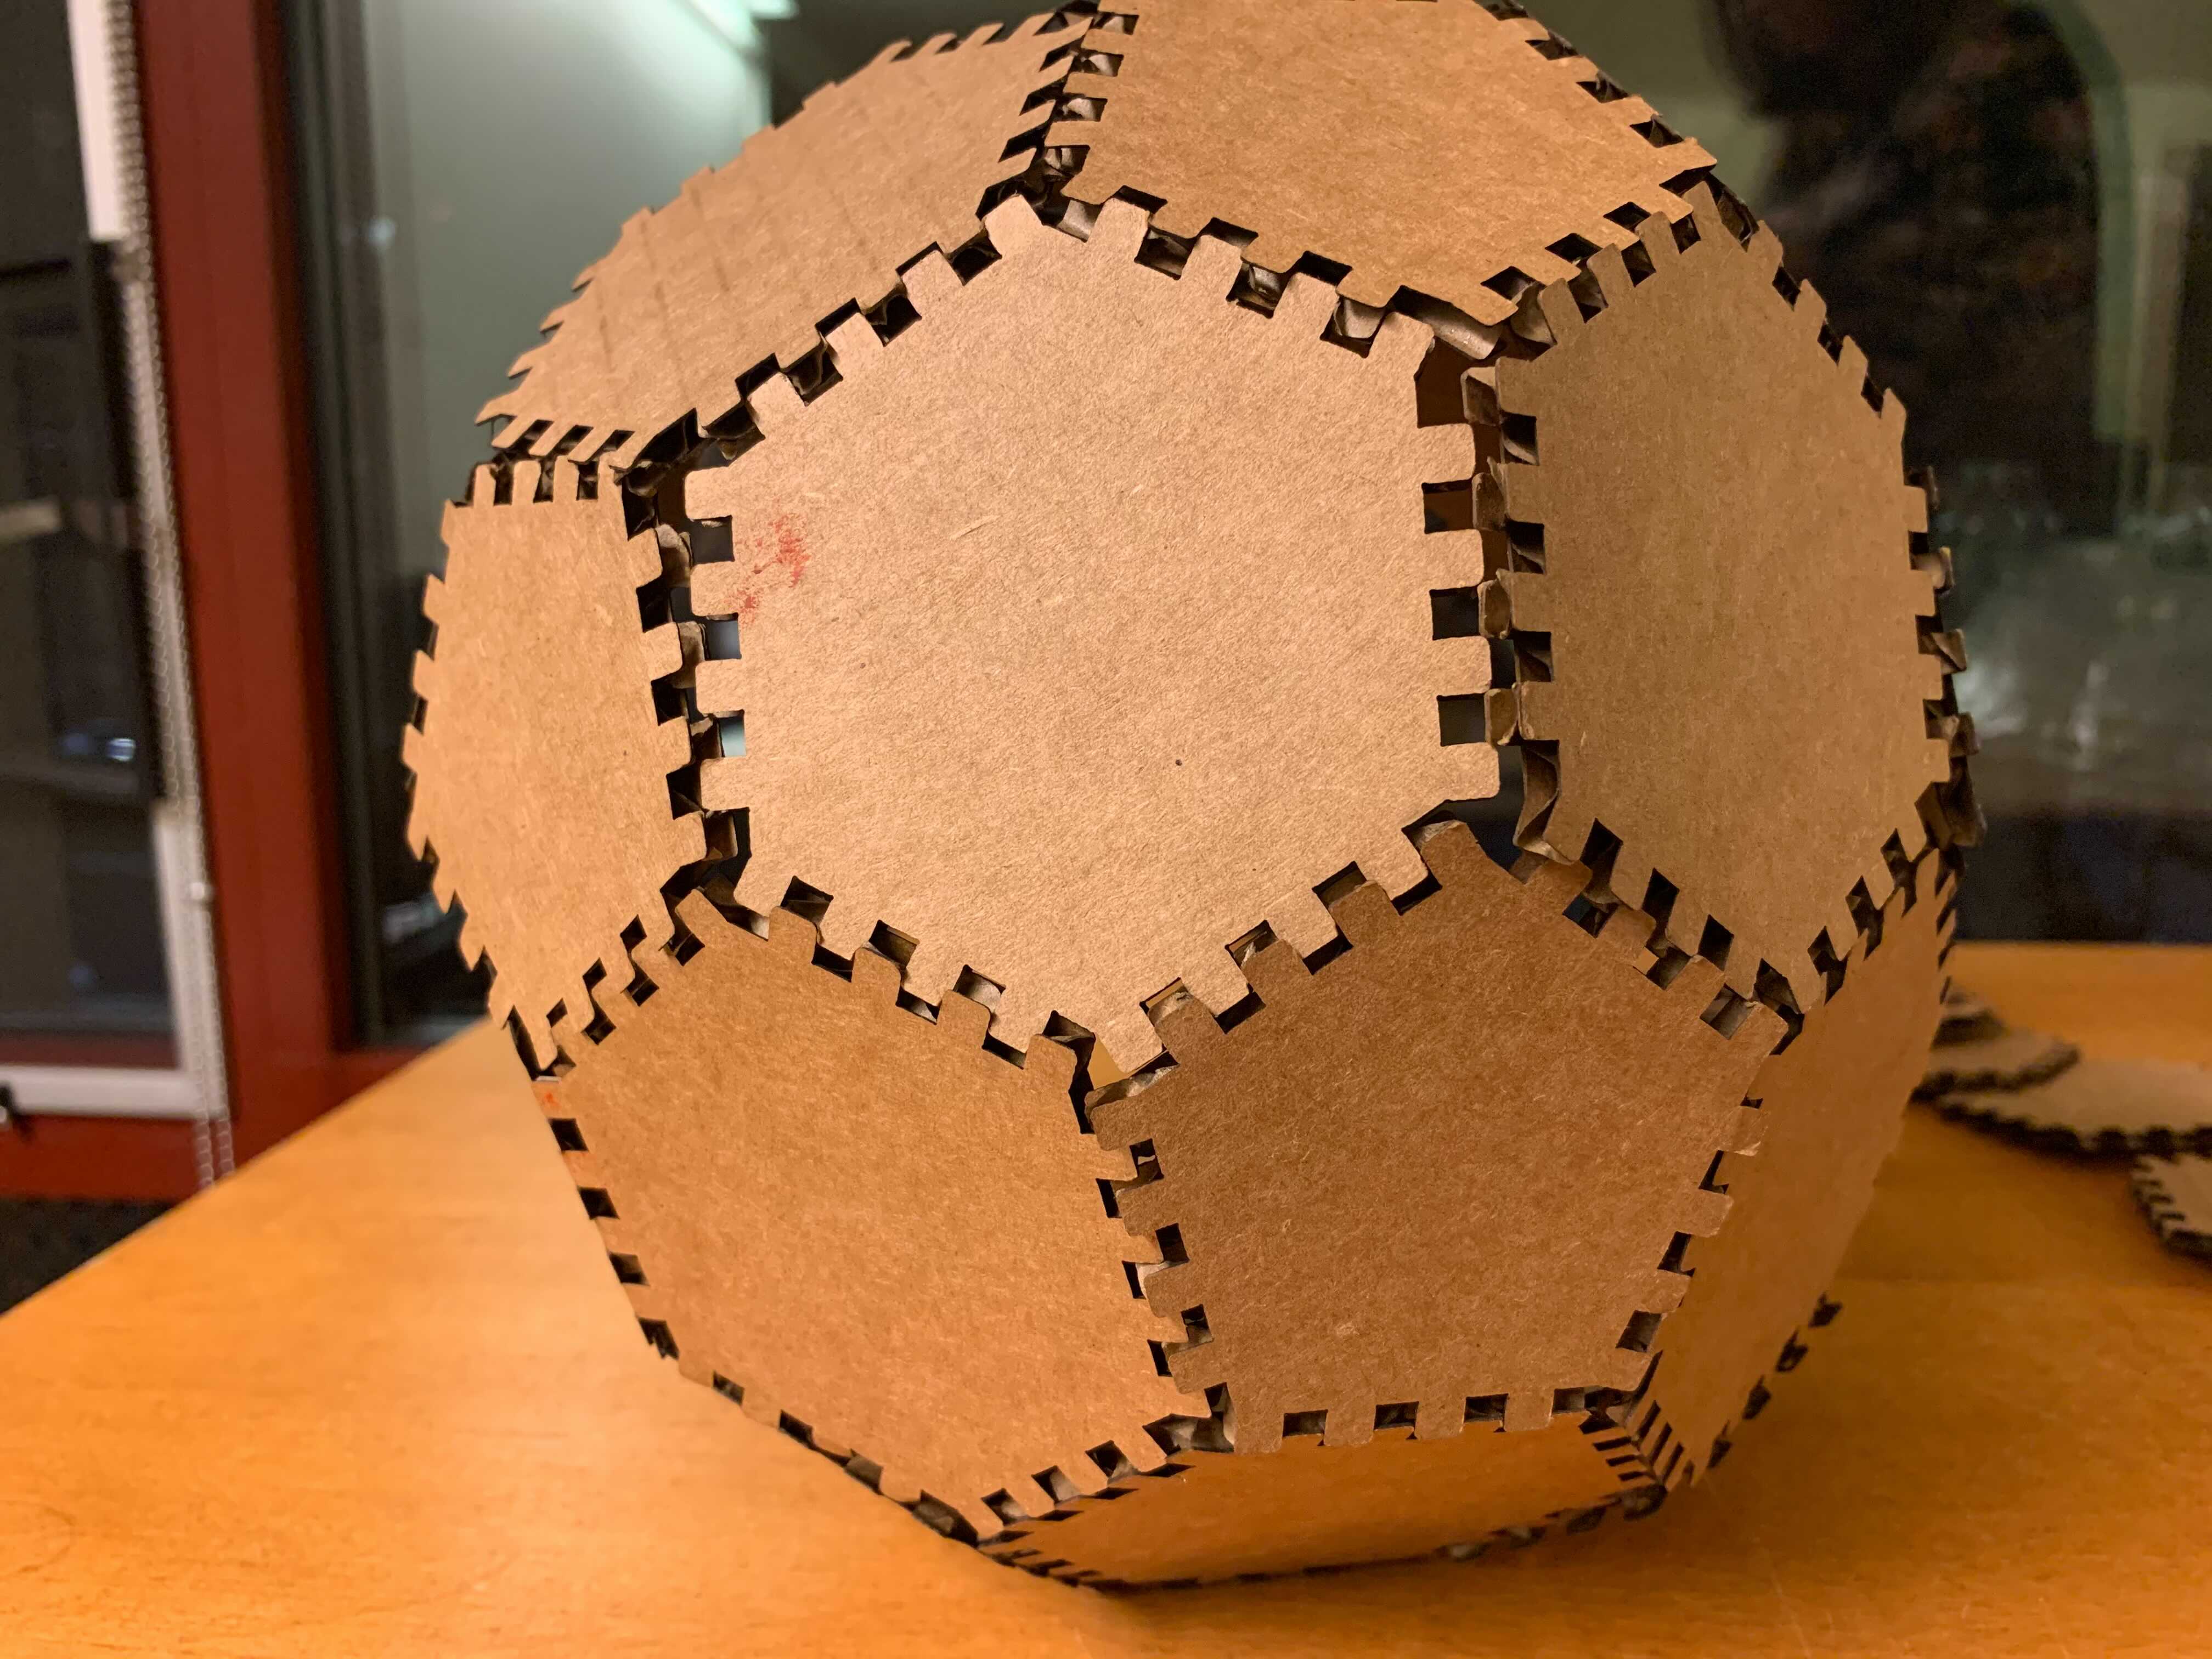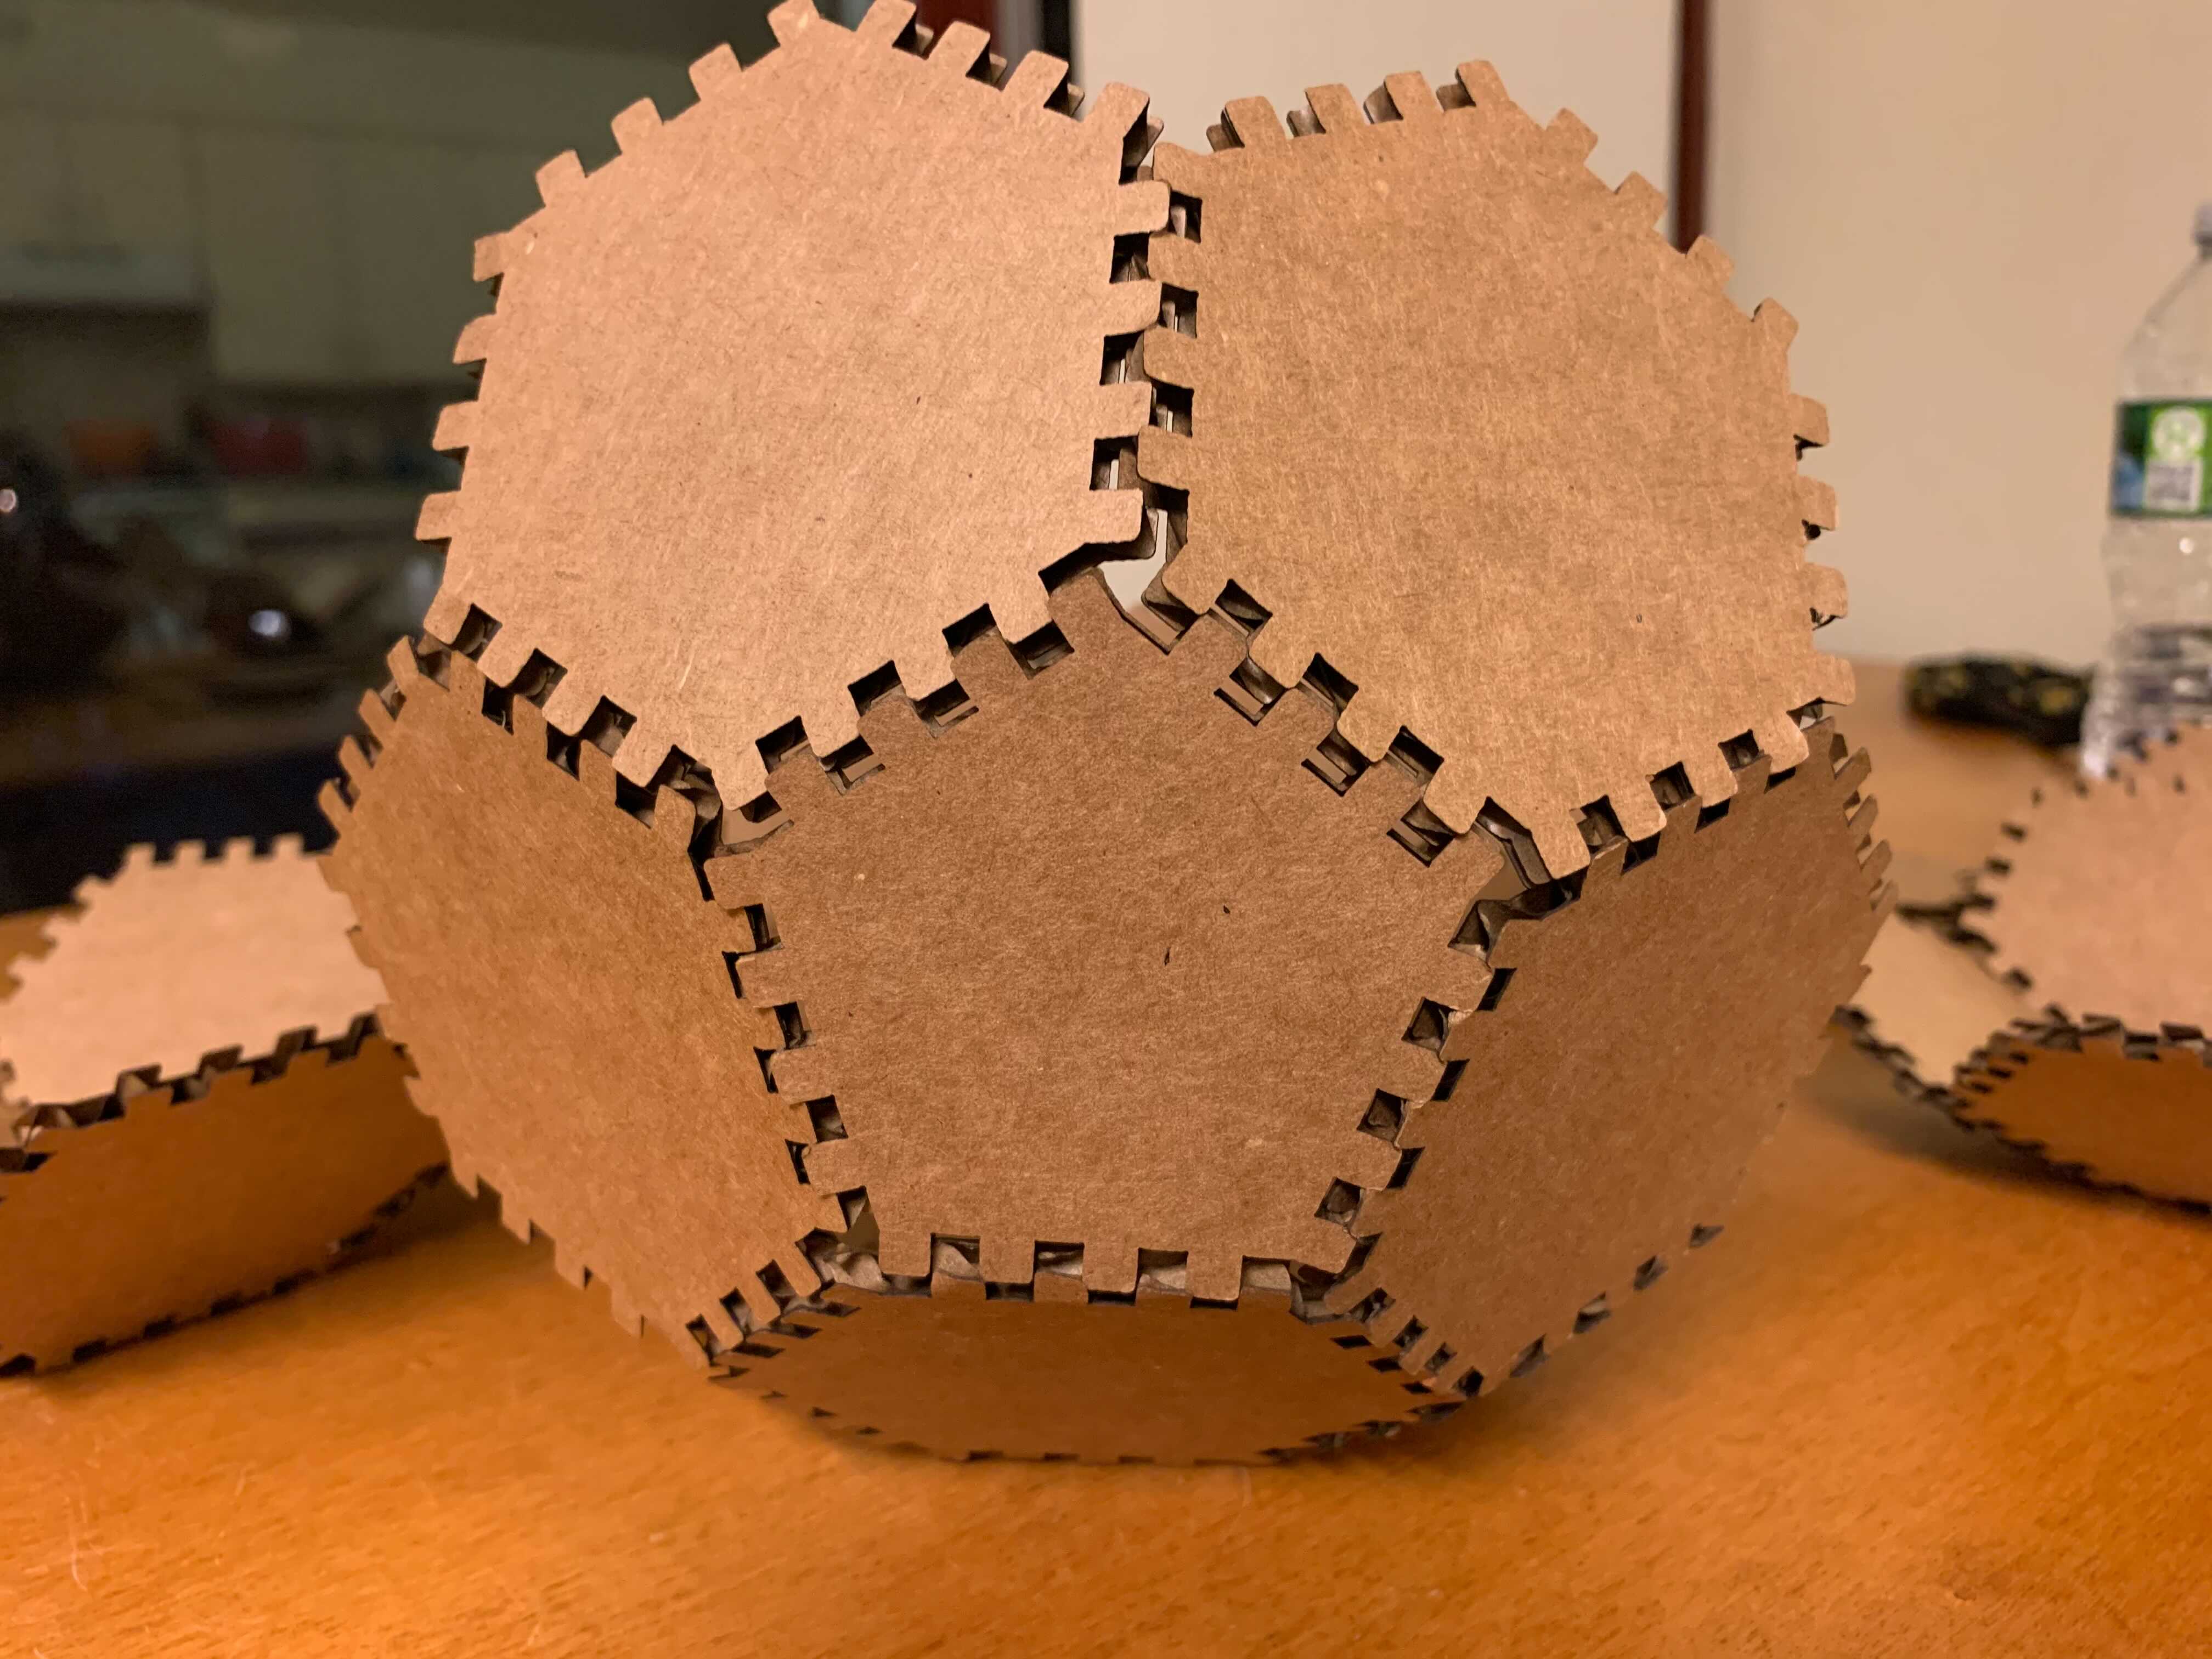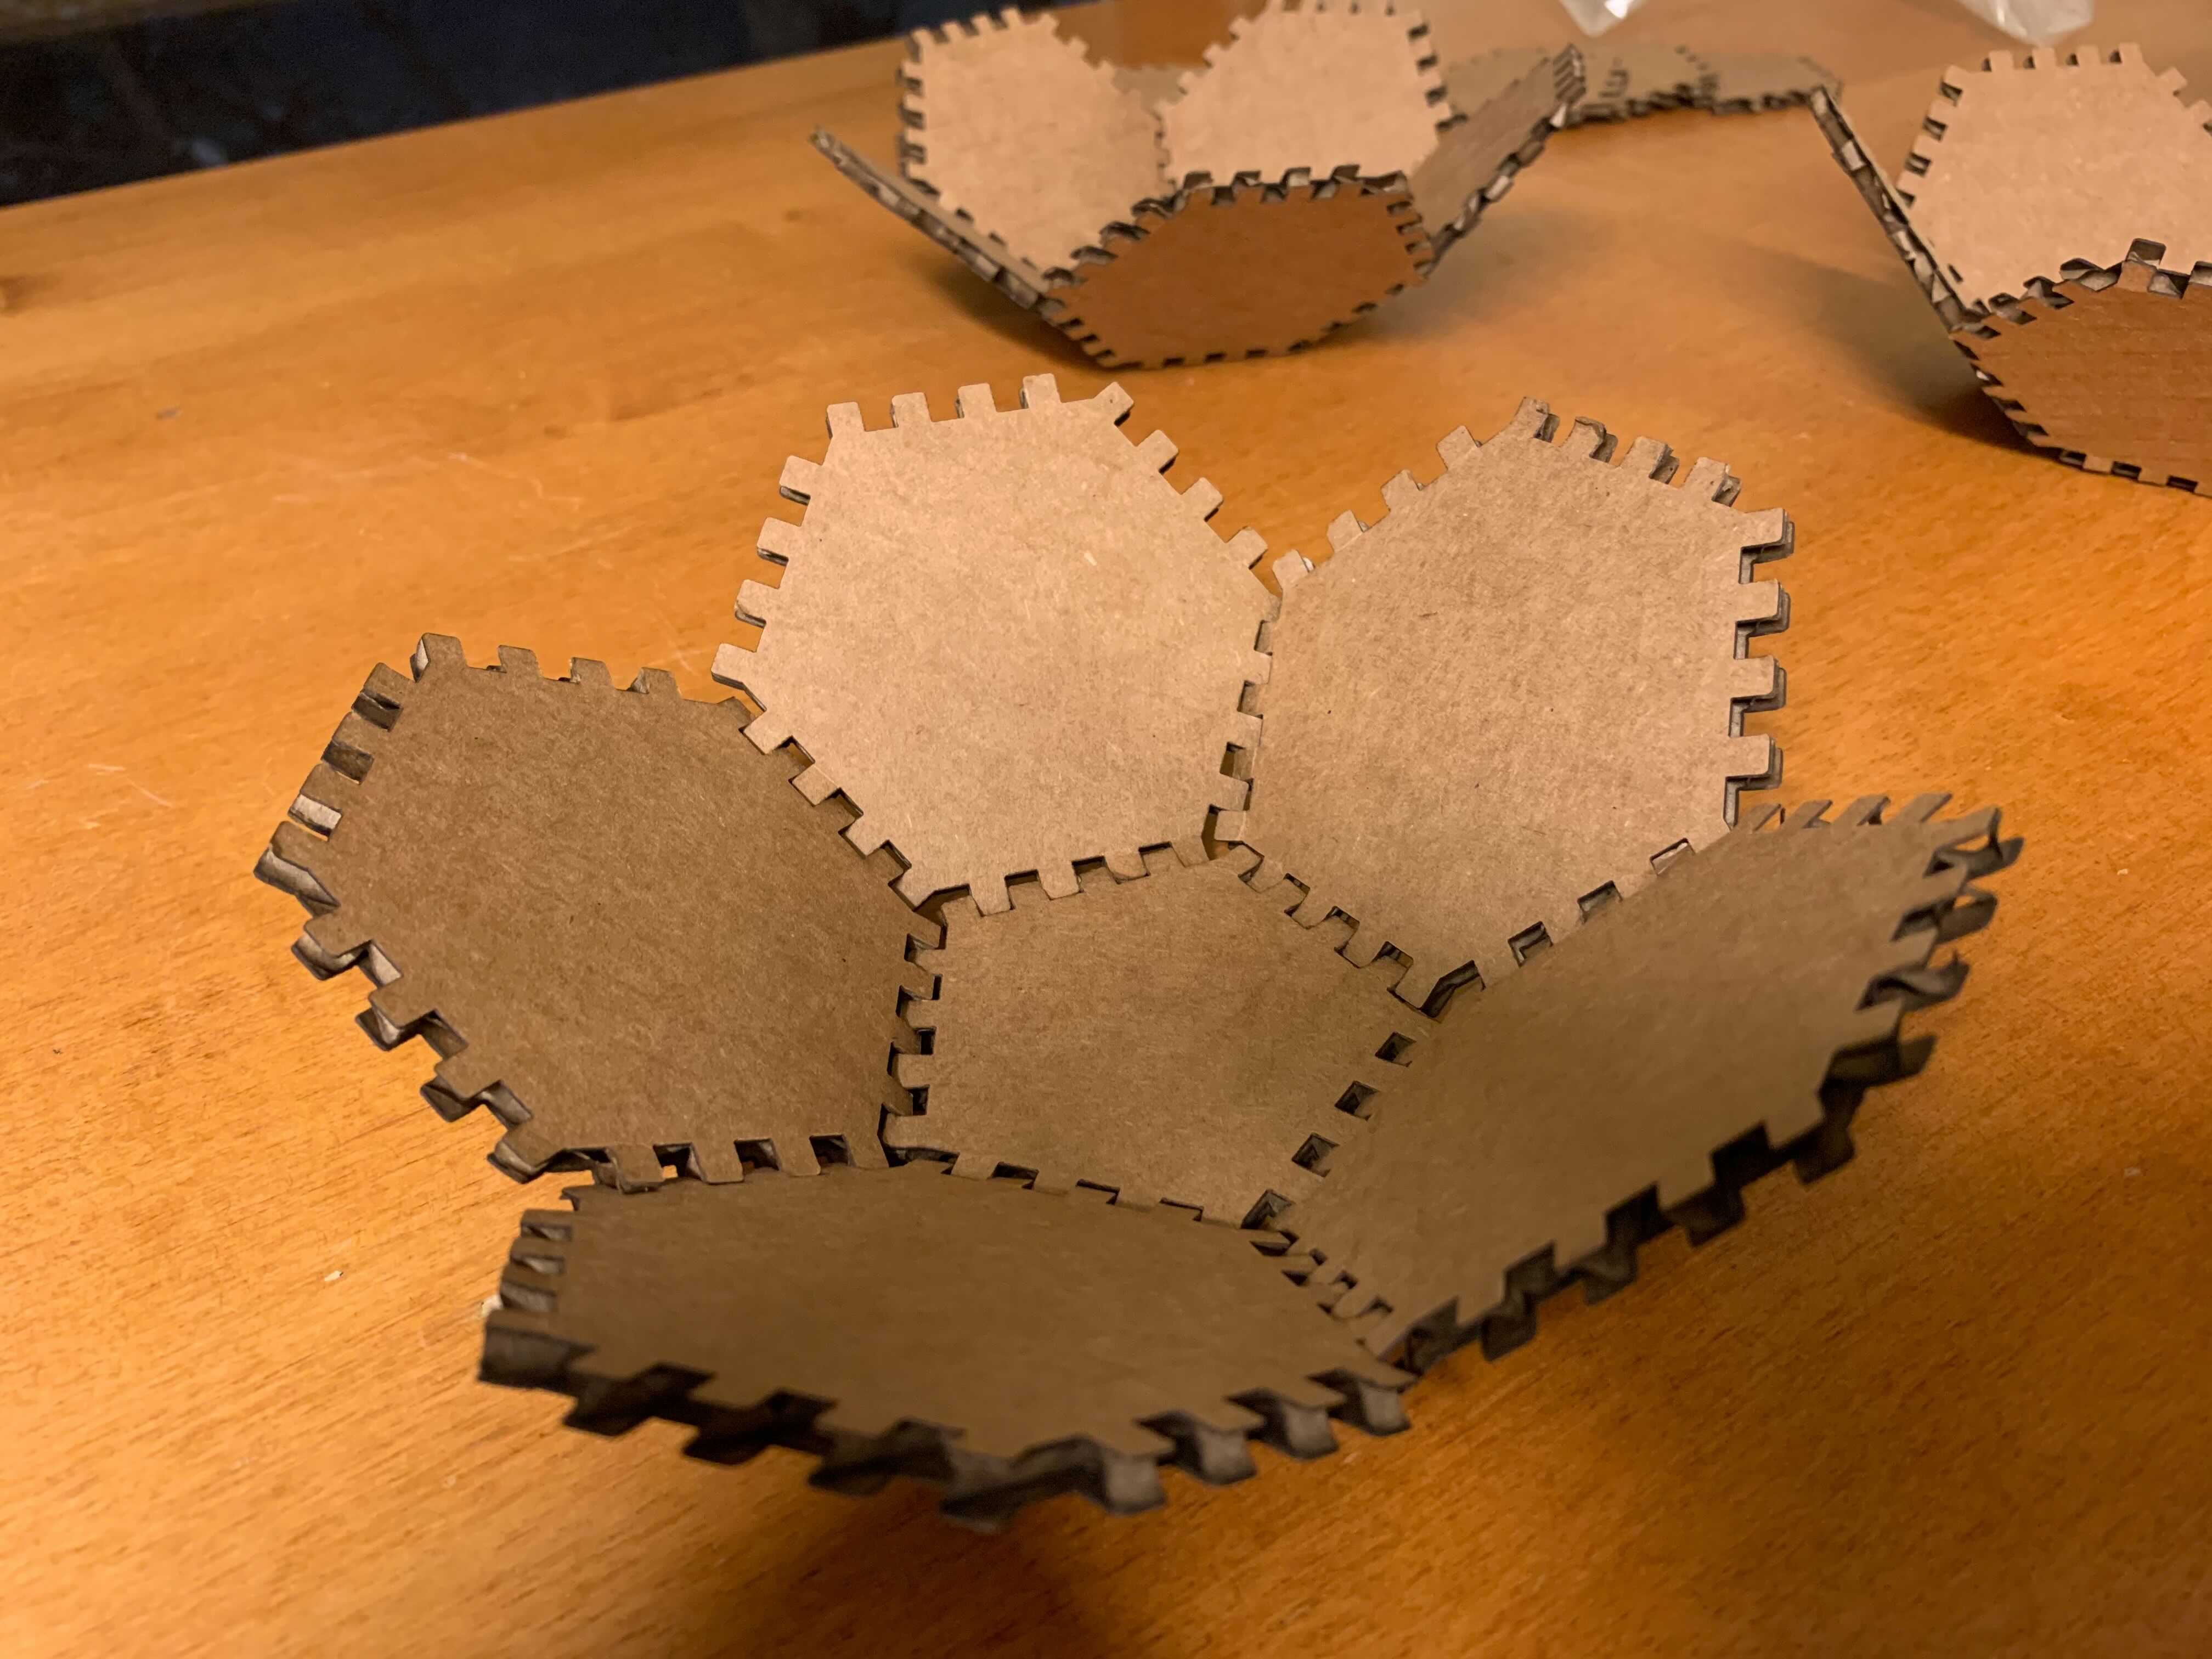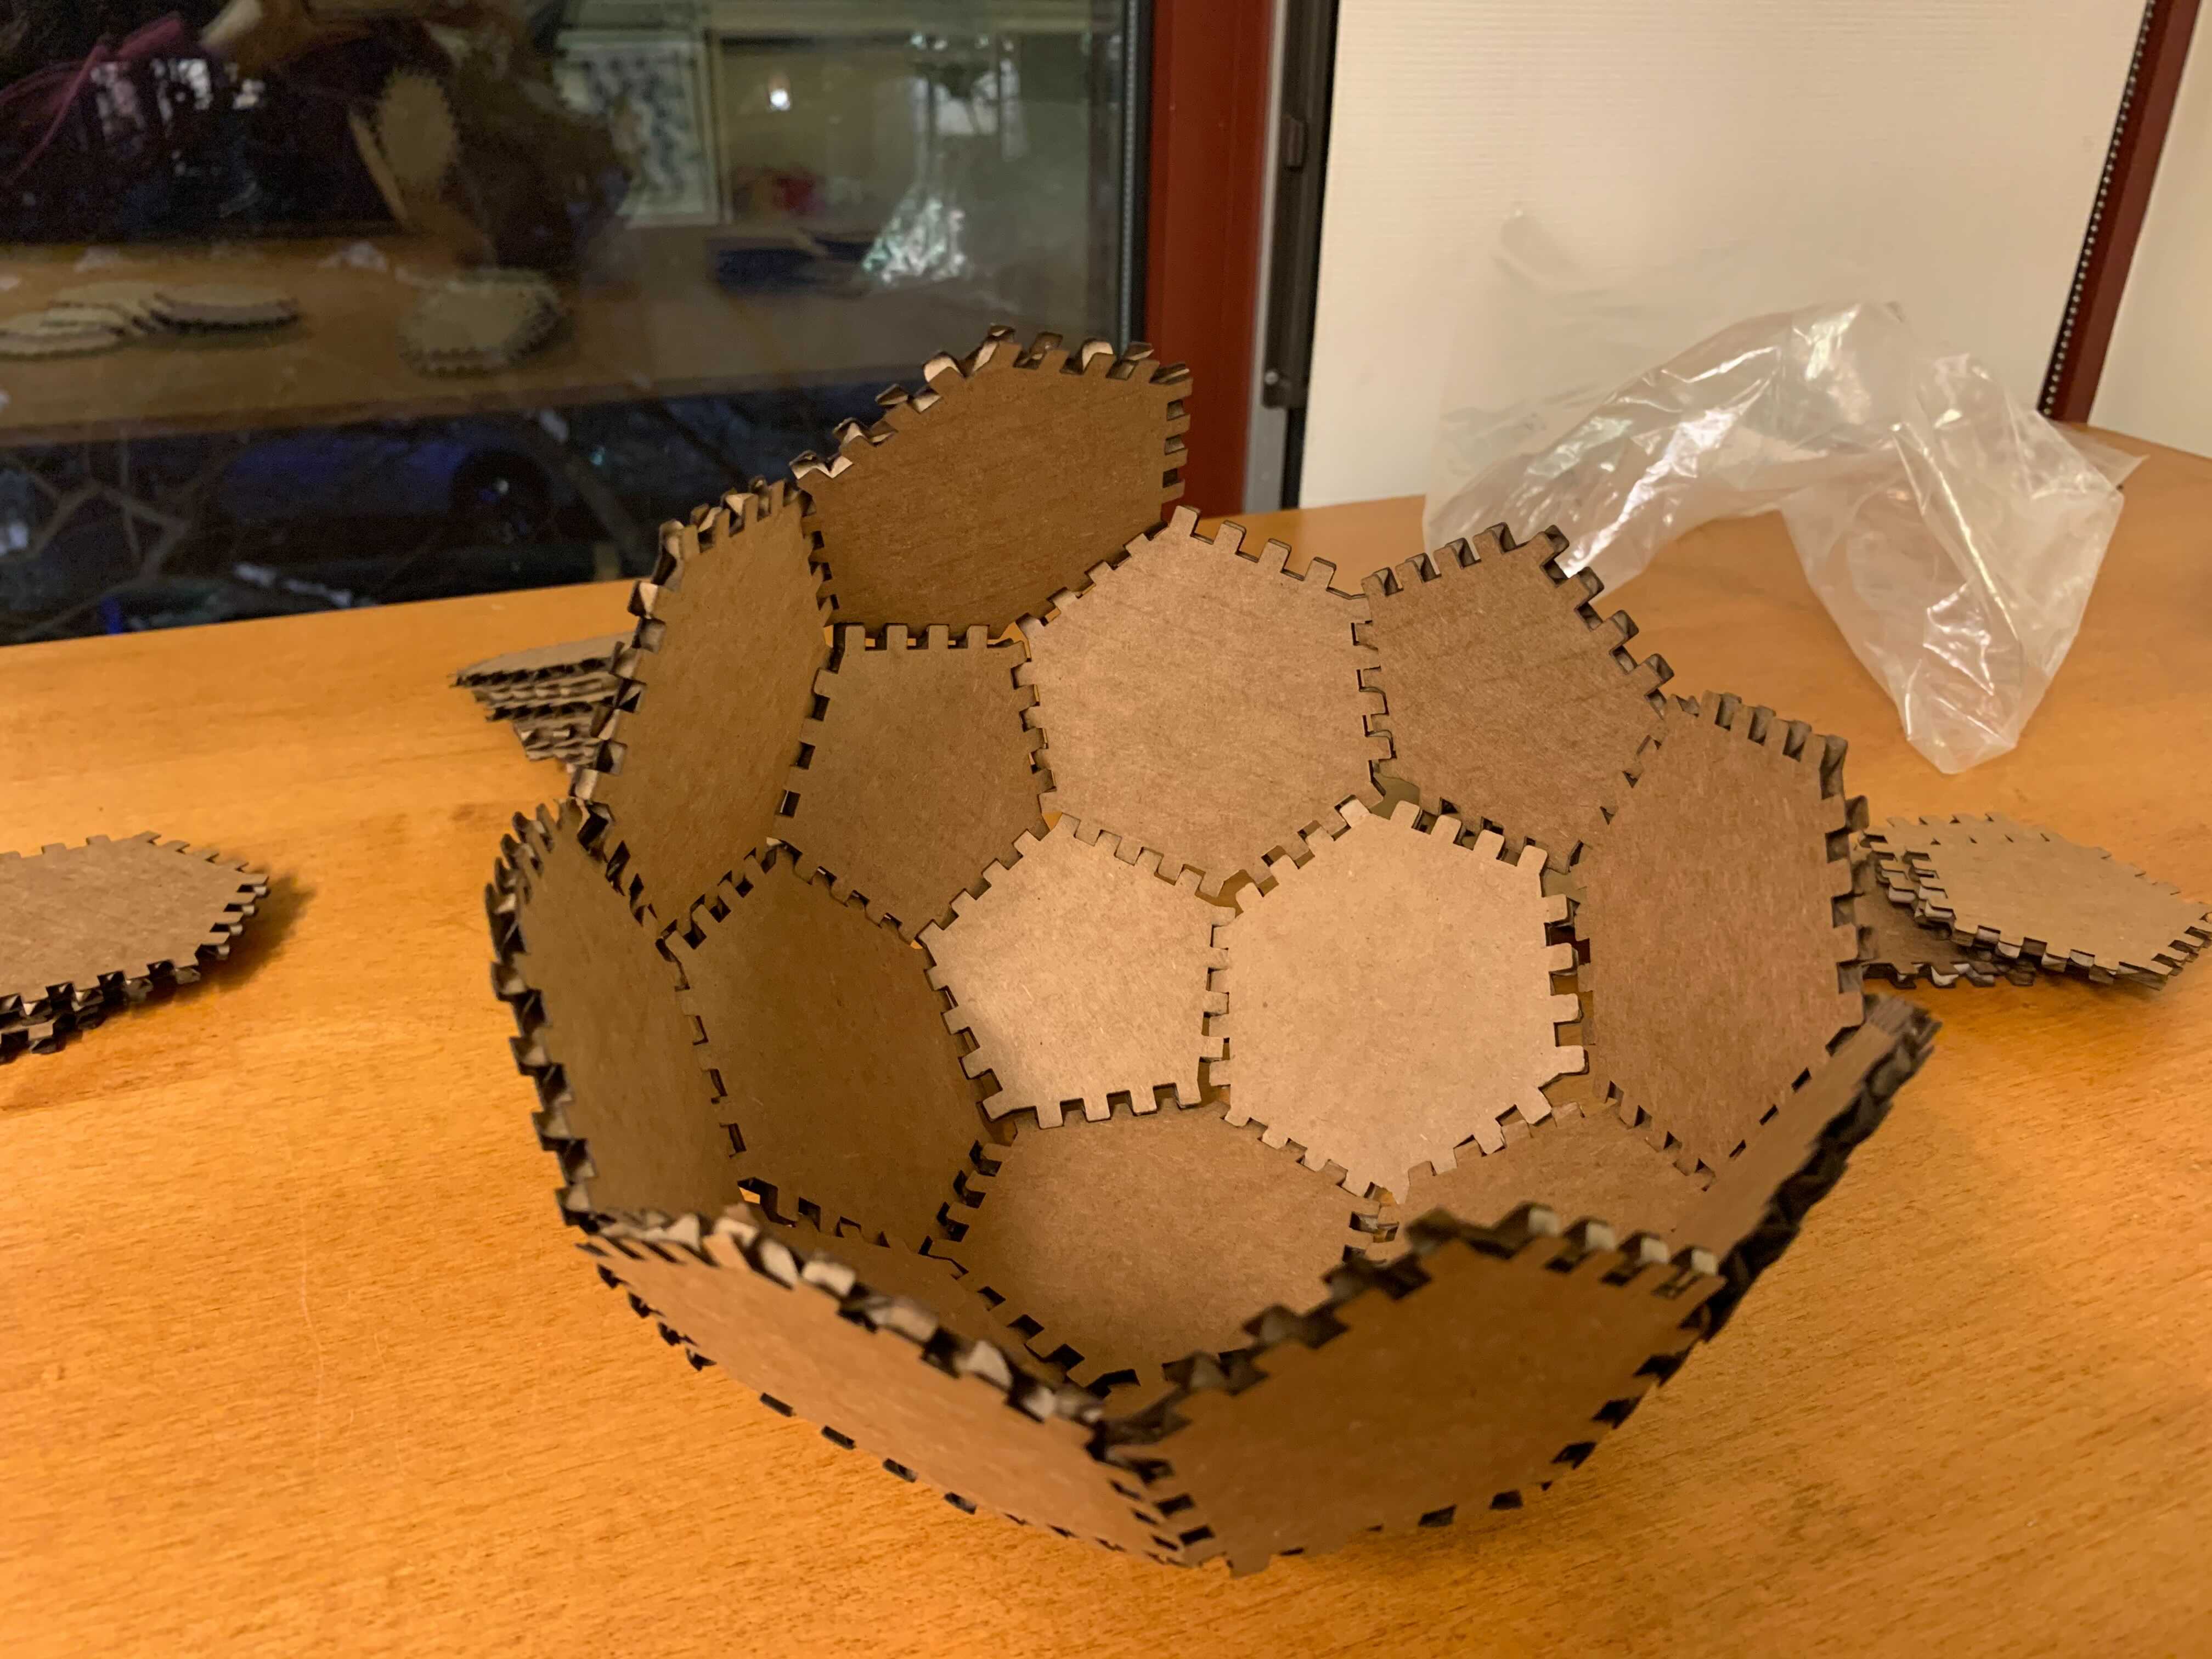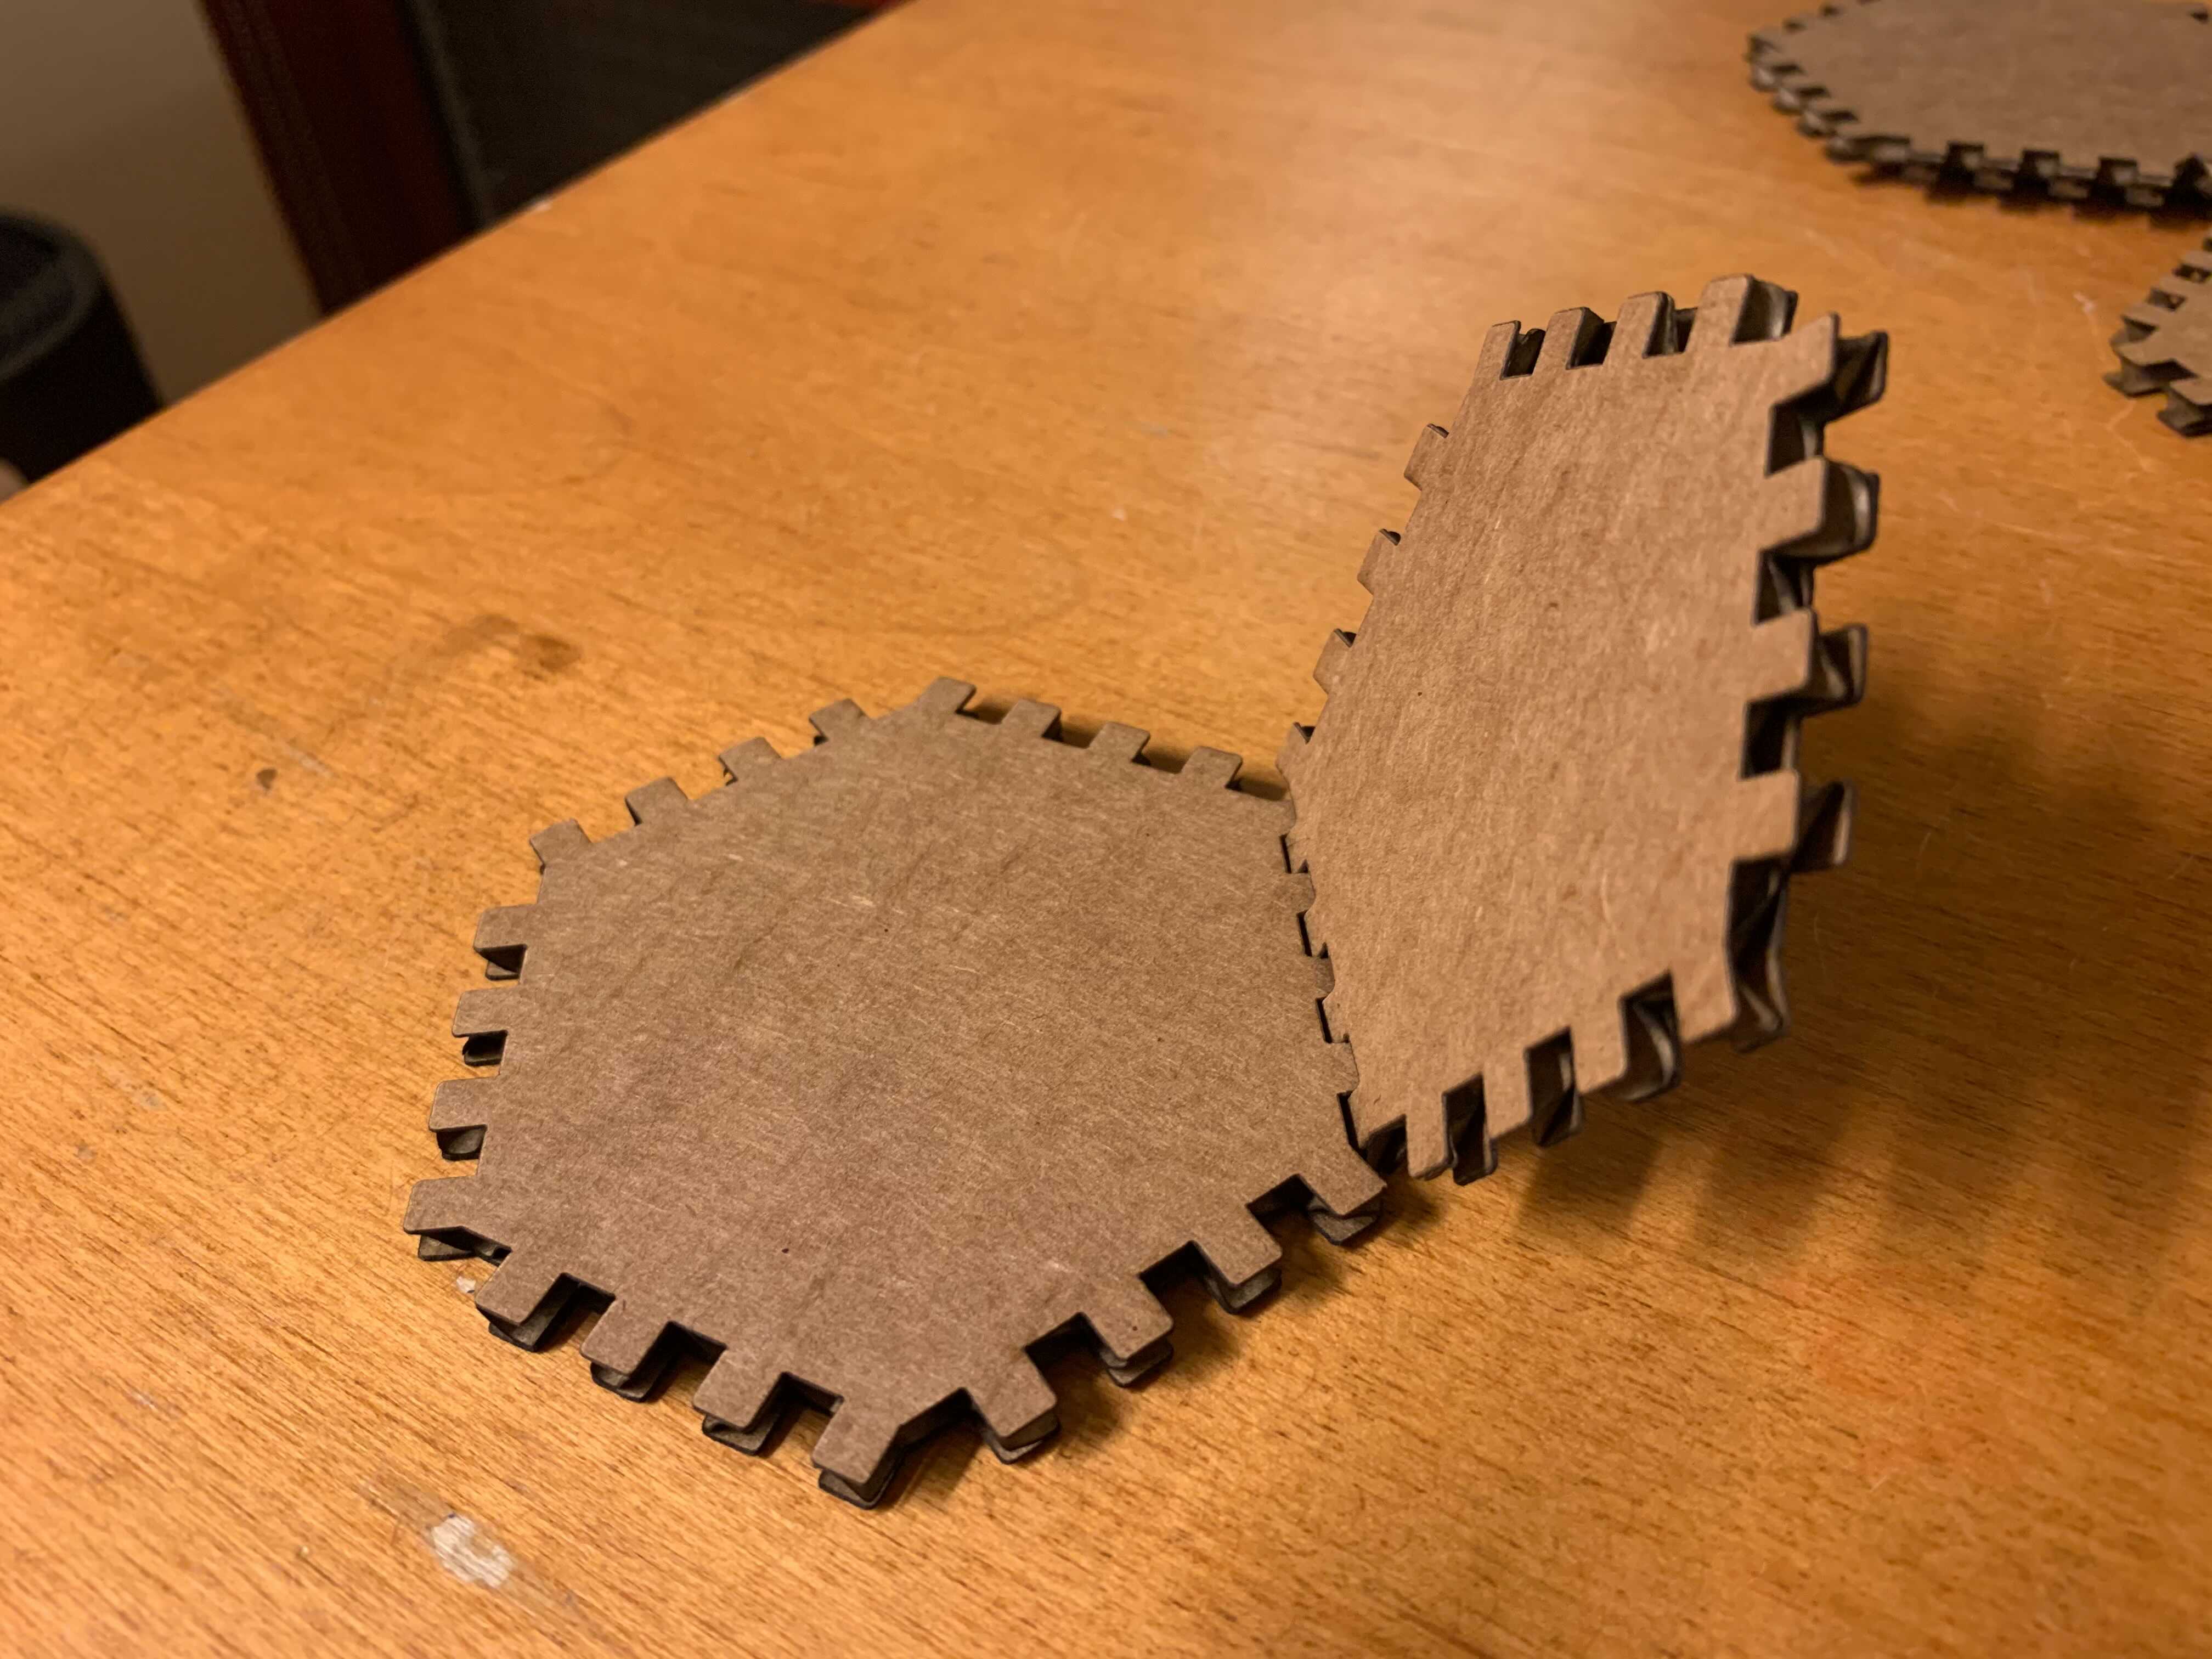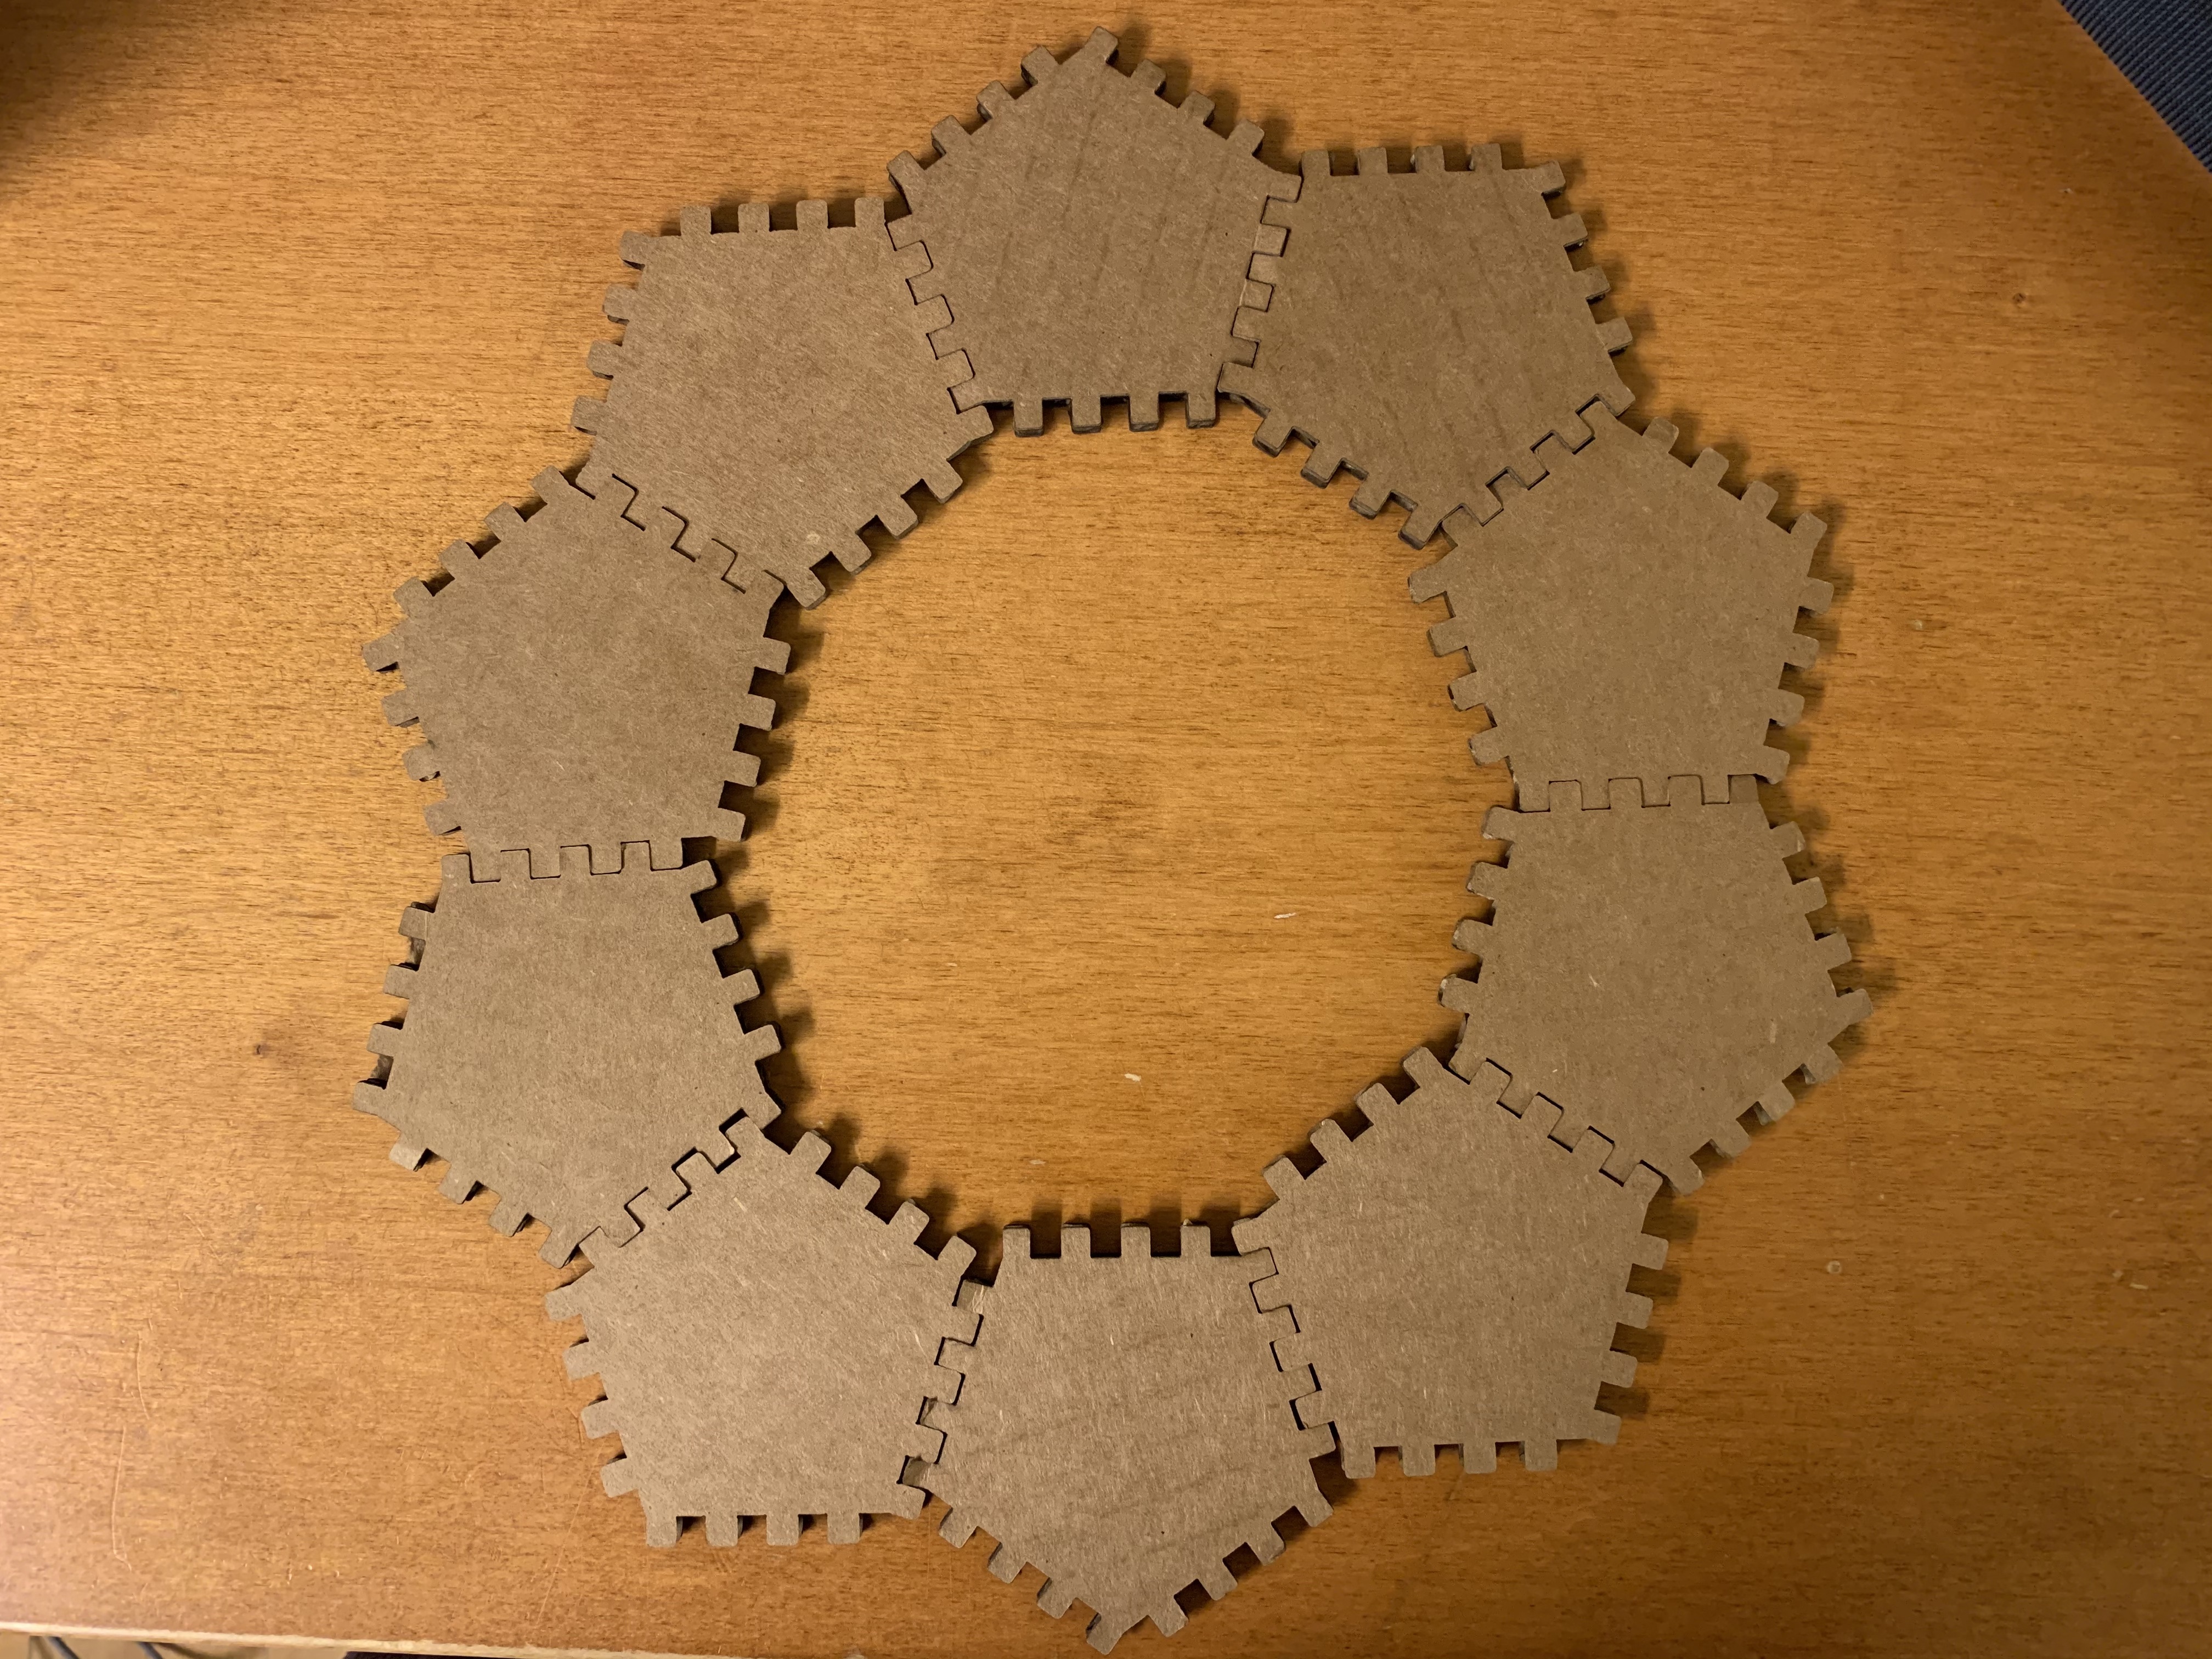
This week my partner Andrew and I worked on a press-fit kit! We decided to make a truncated icosahedron (aka a soccer ball) out of laser cutted 2D cardboard shapes. Visit his website to learn more!
Here are some pictures of the final result:
I also learned more about Fusion 360 this week by working through a Fusion 360 tutorial.
This Fusion 360 Tutorial for Beginners teaches set units, creating a line with an arc, dimension, construction line, circle, apply constraint, trim, ellipse, zoom, pan, undo, and redo.
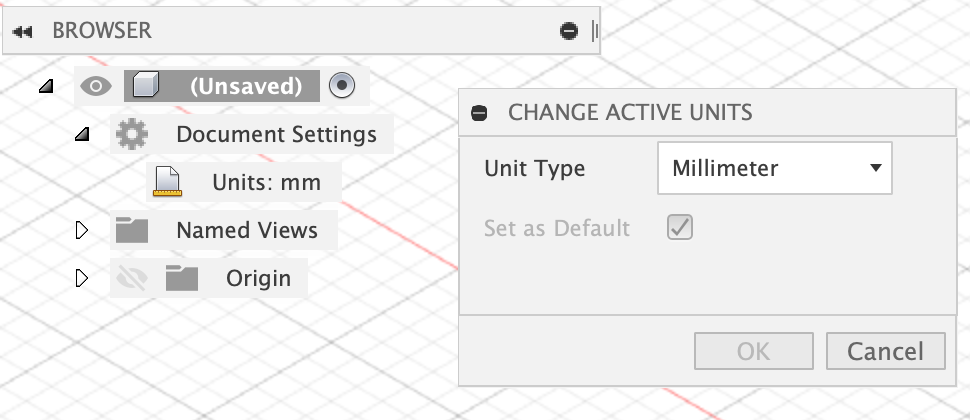
I learned how to change units by clicking “Document Settings” then “Units” to change the active units:
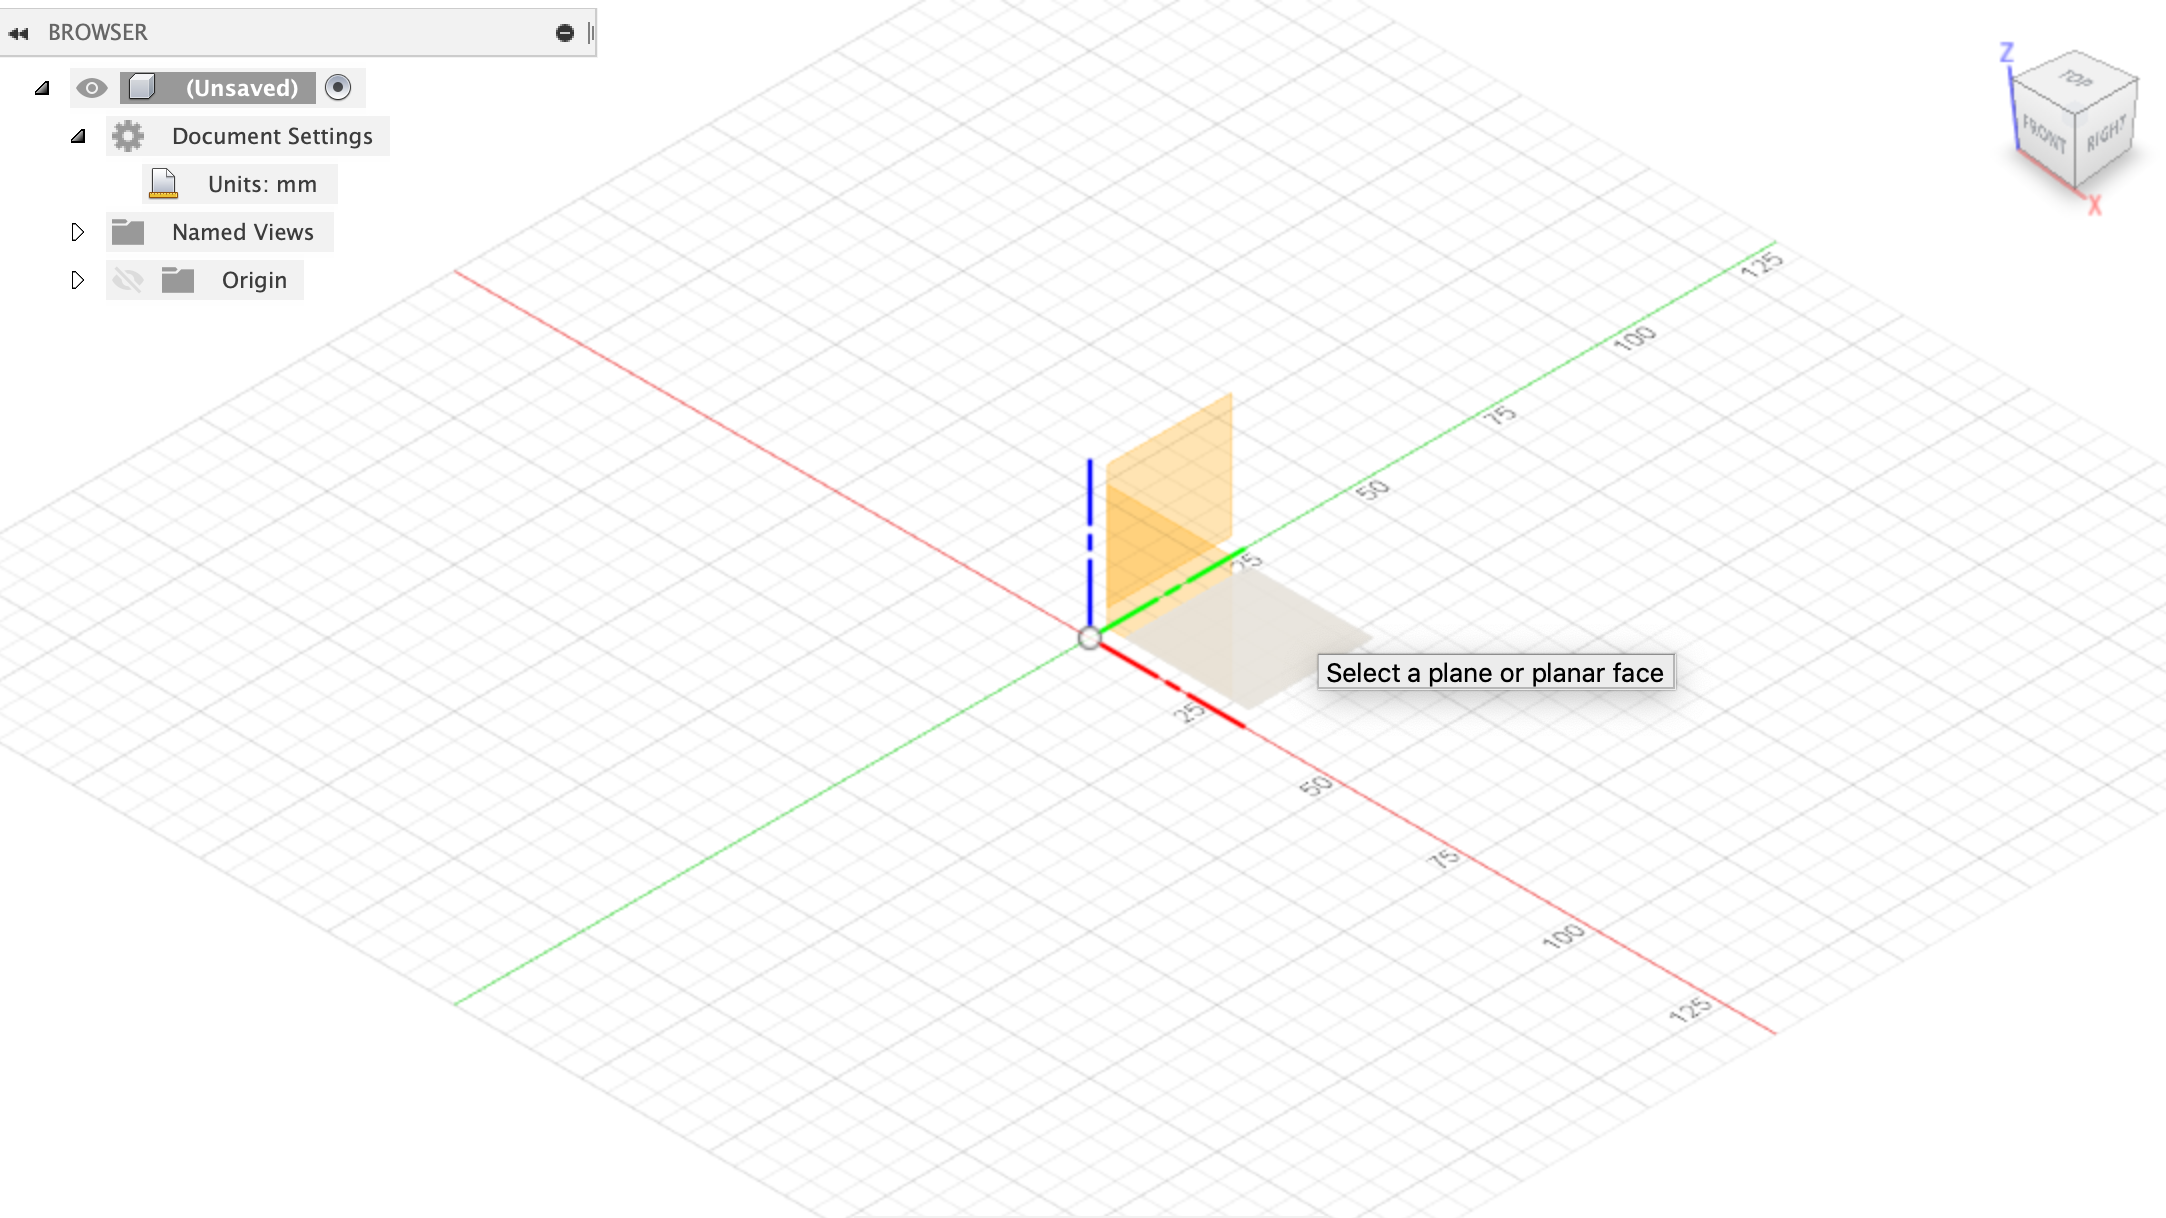
I then started a sketch by clicking “Create Sketch” and a plane to start the sketch on:
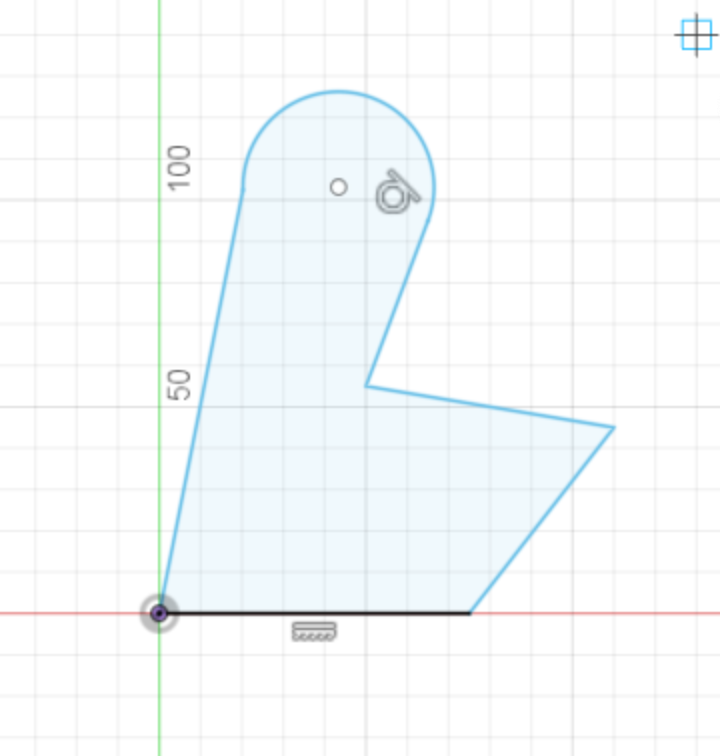
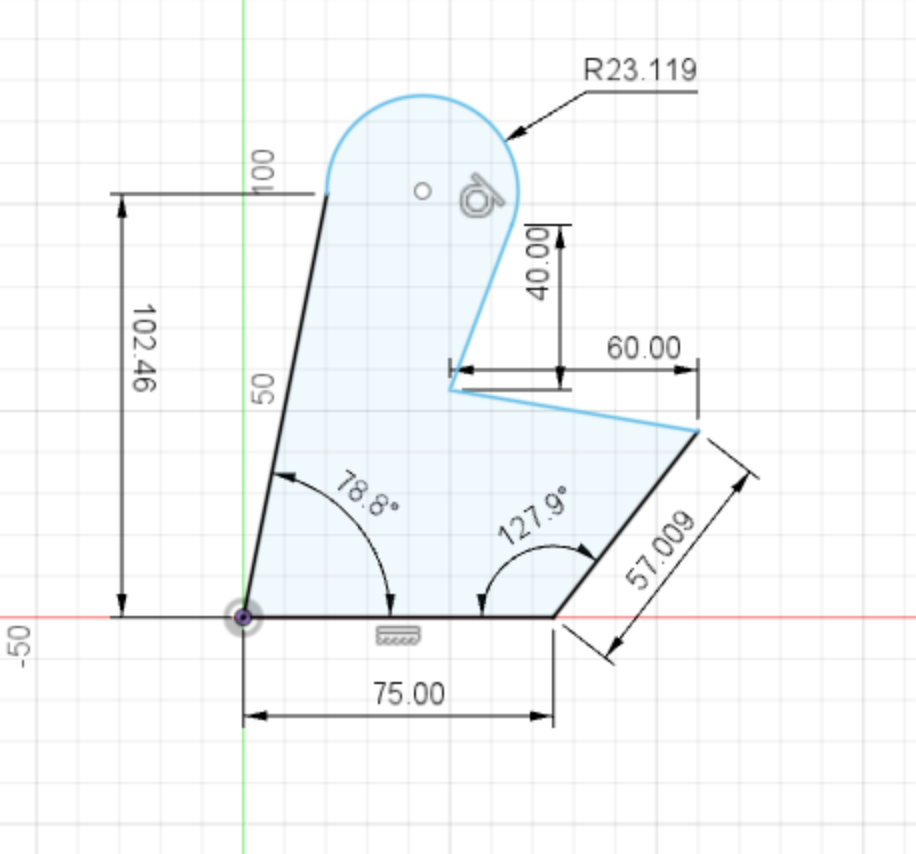
I started making a sketch using the line and arc settings to make an enclosed shape, and then added dimensions to the shape using the “Sketch Dimension” setting:
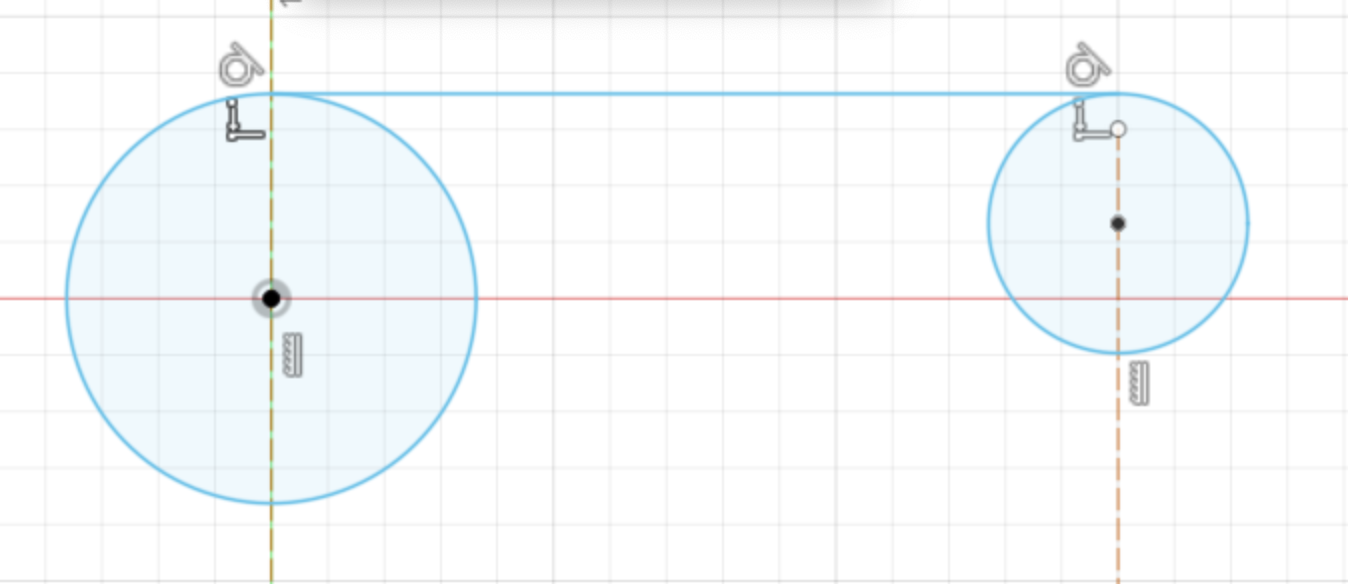
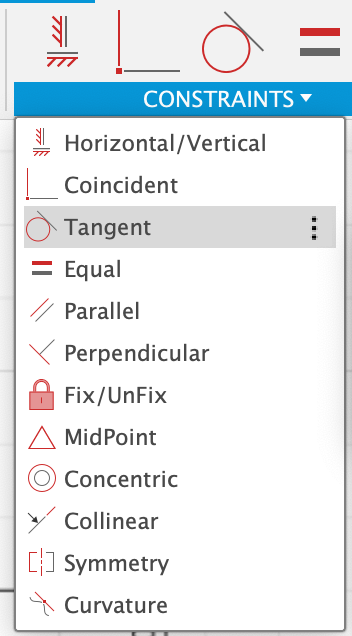
The tutorial then showed me how to make two reference lines by making lines and setting them to the “Construction” linetype. I drew circles around the constructed lines and then drew a line between the two circles that was tangent to the right circle. In order to make the line tangent to both circles, I clicked the left circle, the line, and used the tangent constraint in the “Constraints” tab.
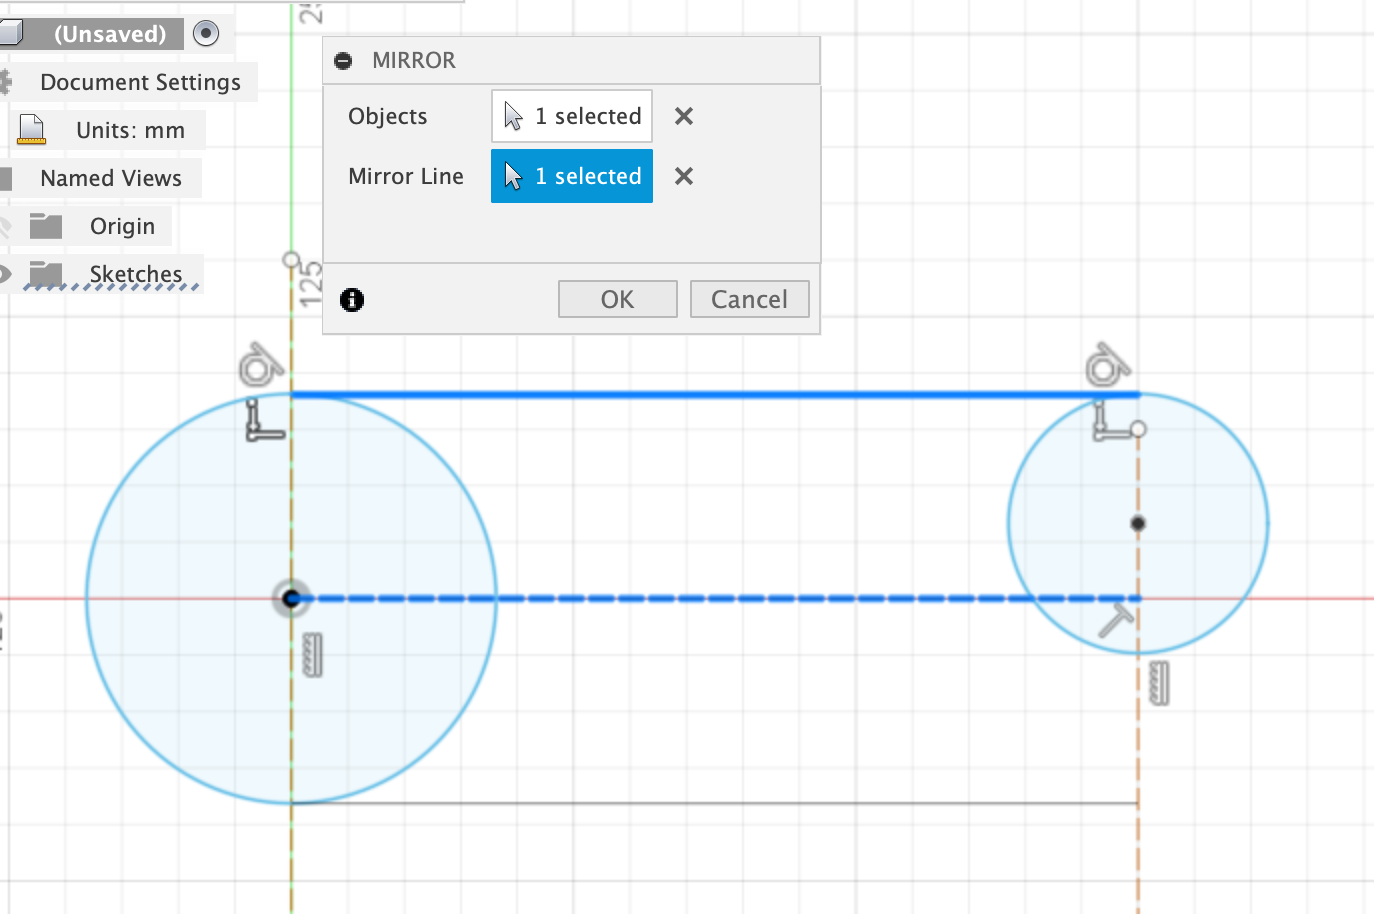
I also learned how to use the “Mirror” setting to mirror a line across a reference line:
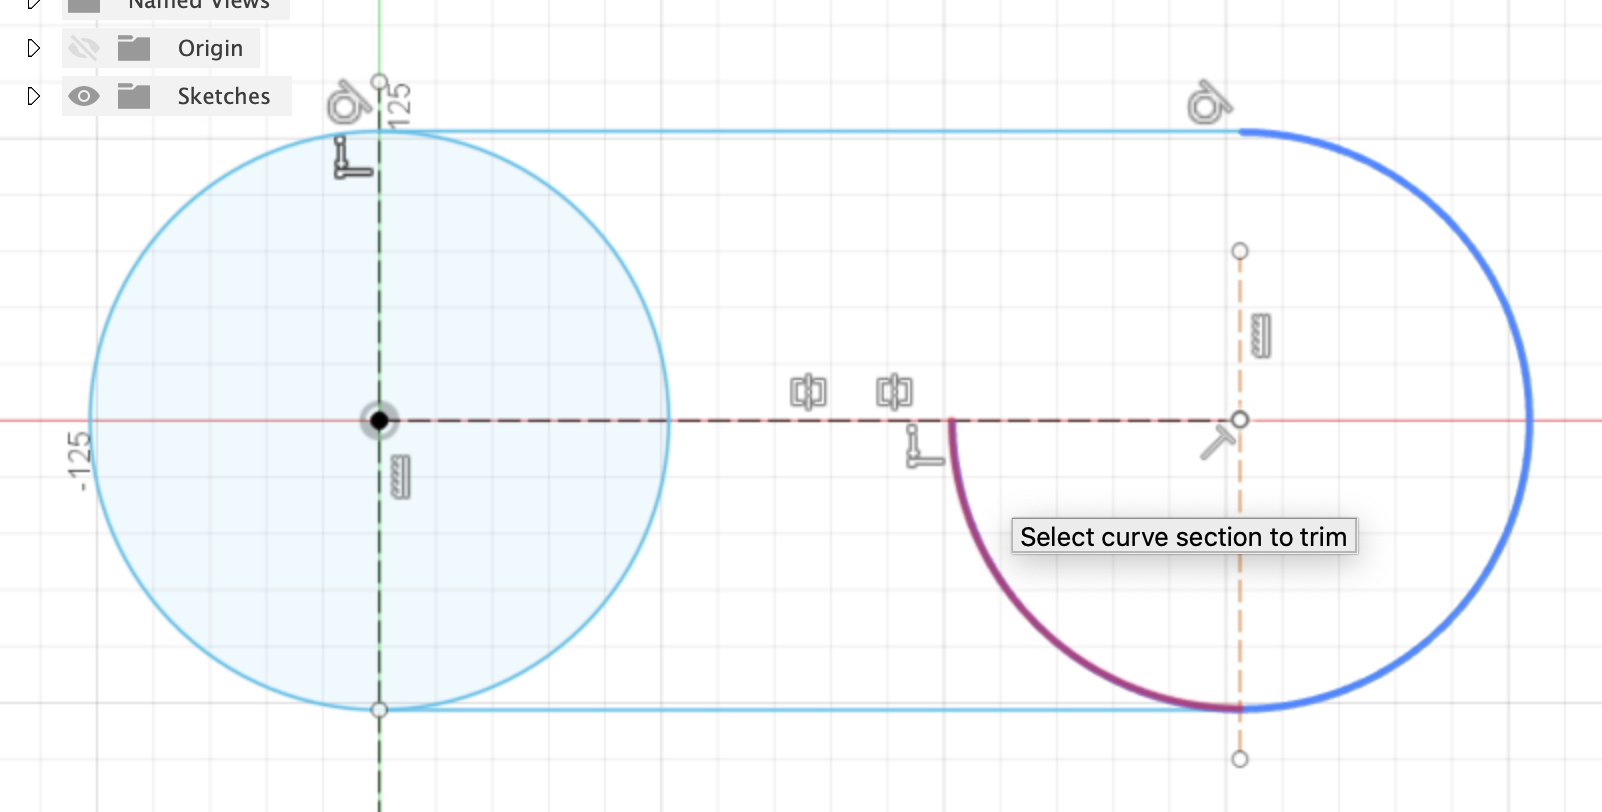
Finally, I used the “Trim” setting to trim lines and curves from a shape:
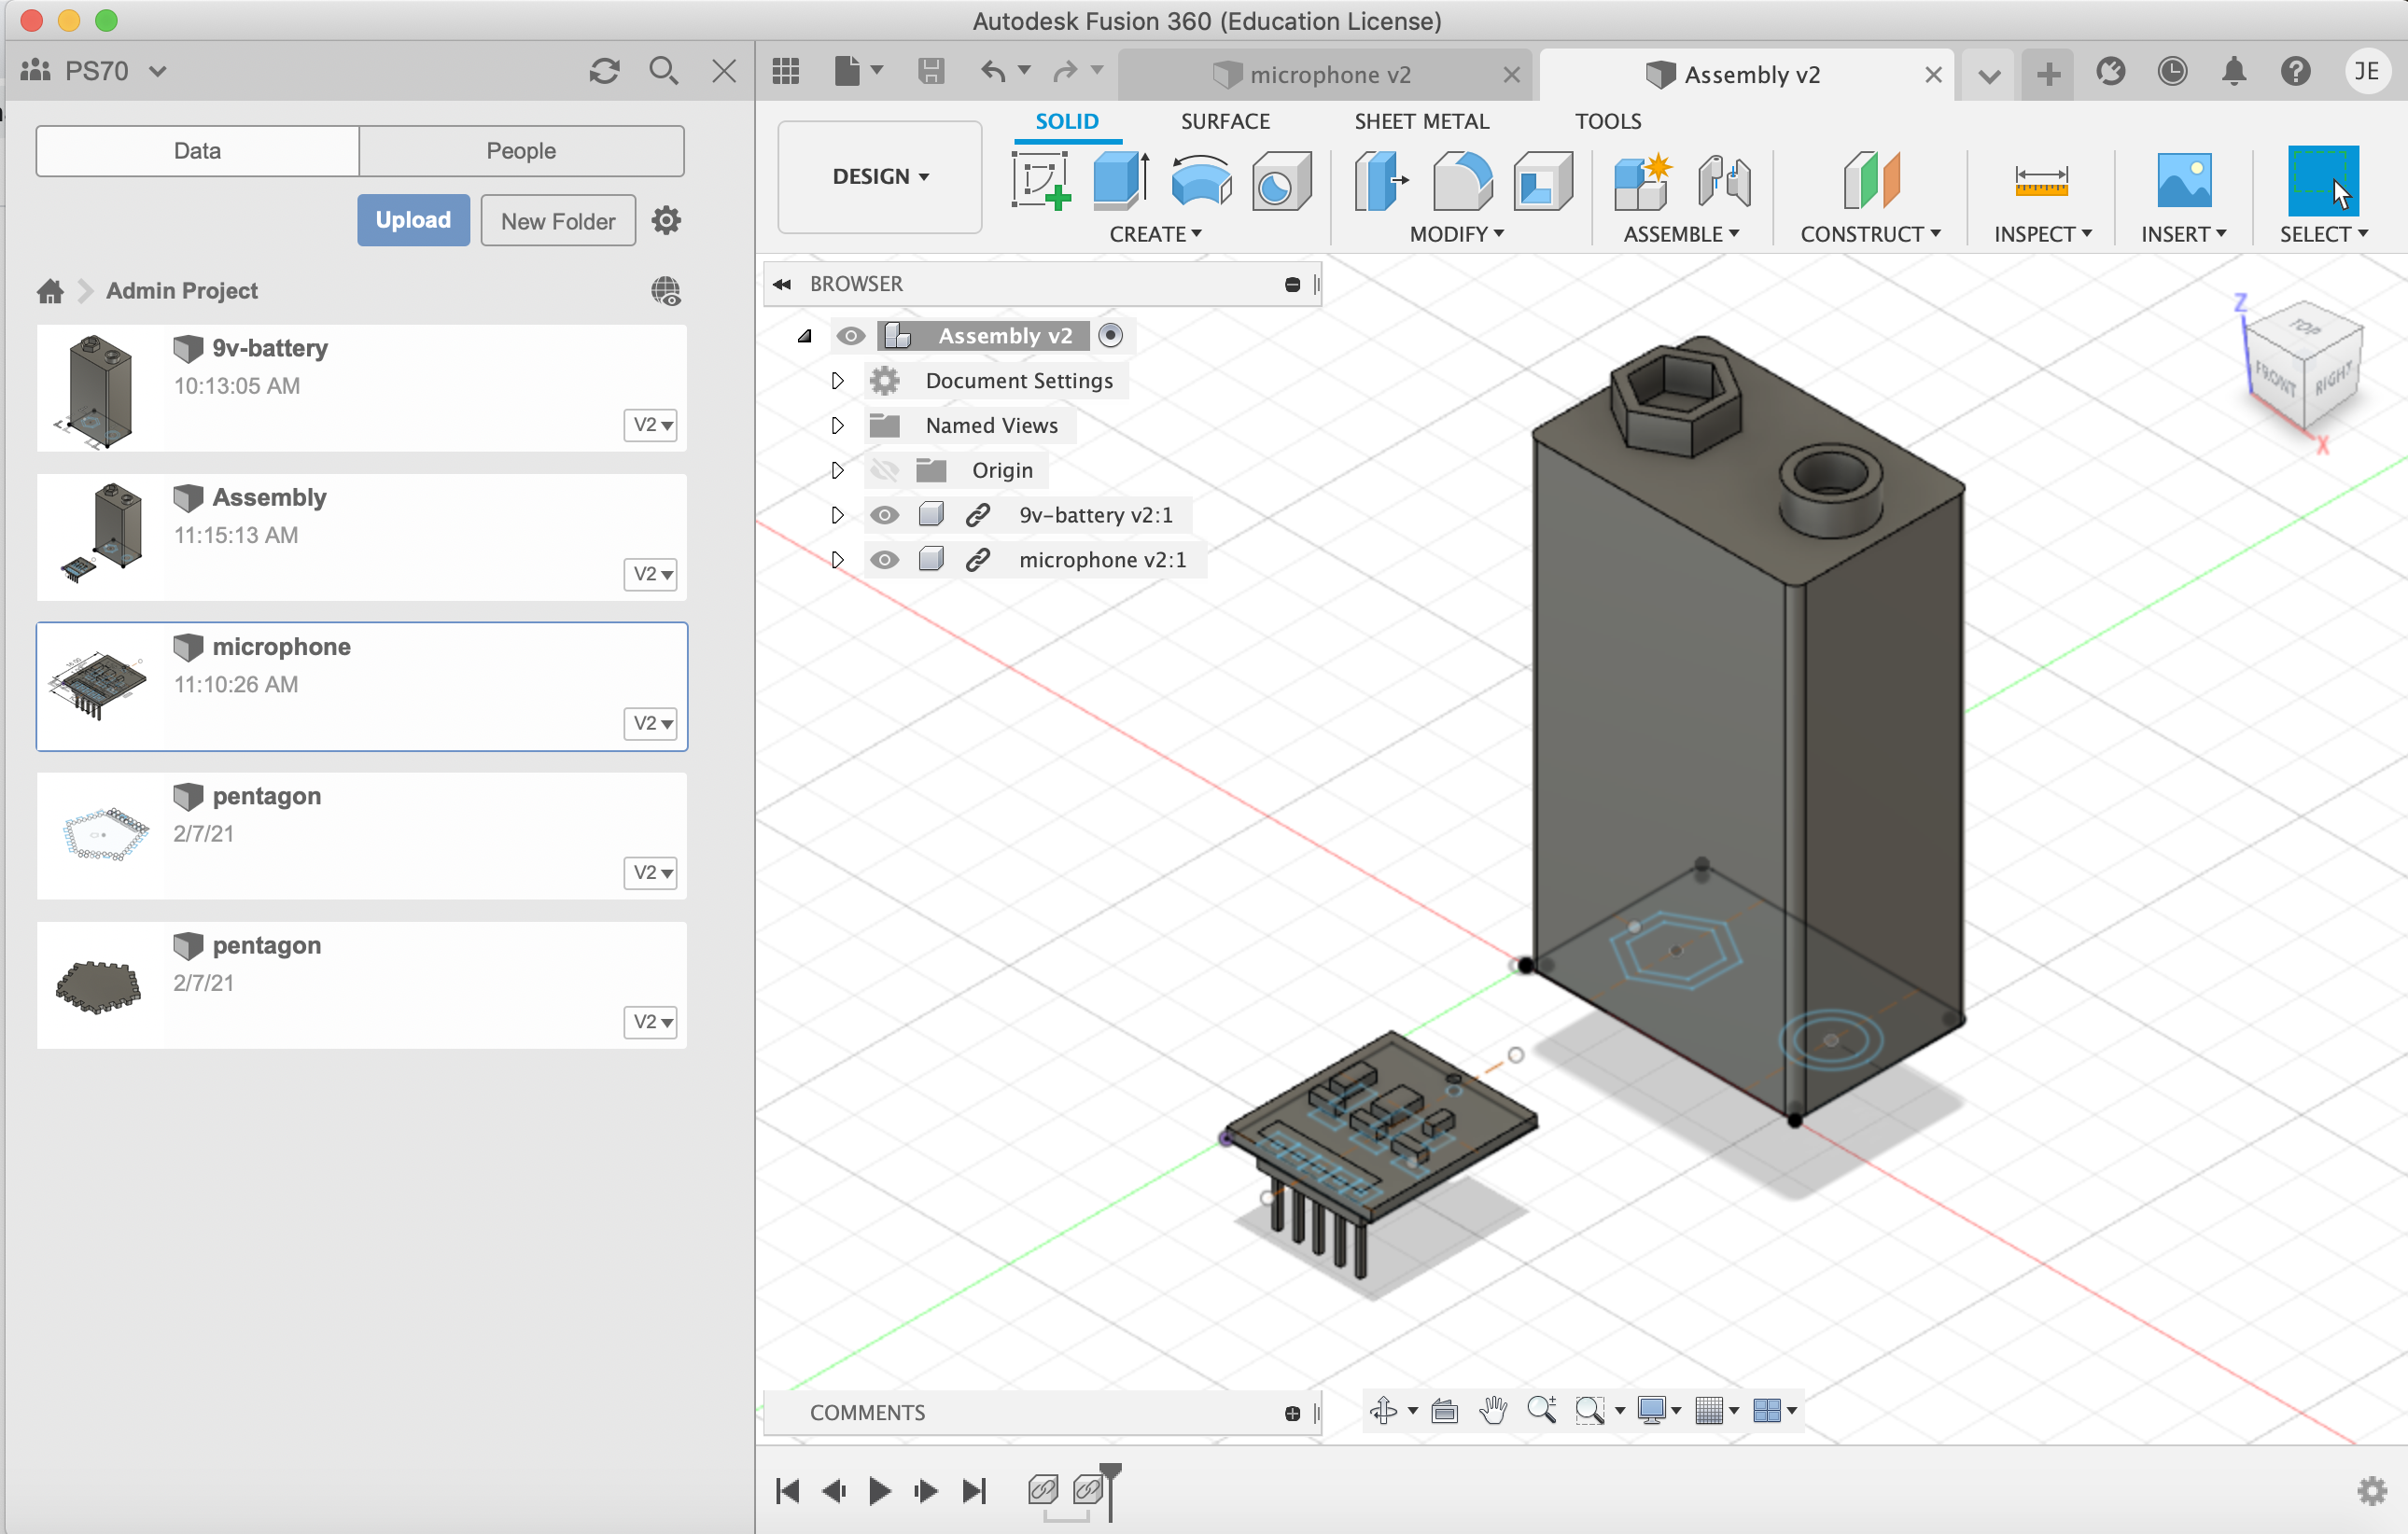
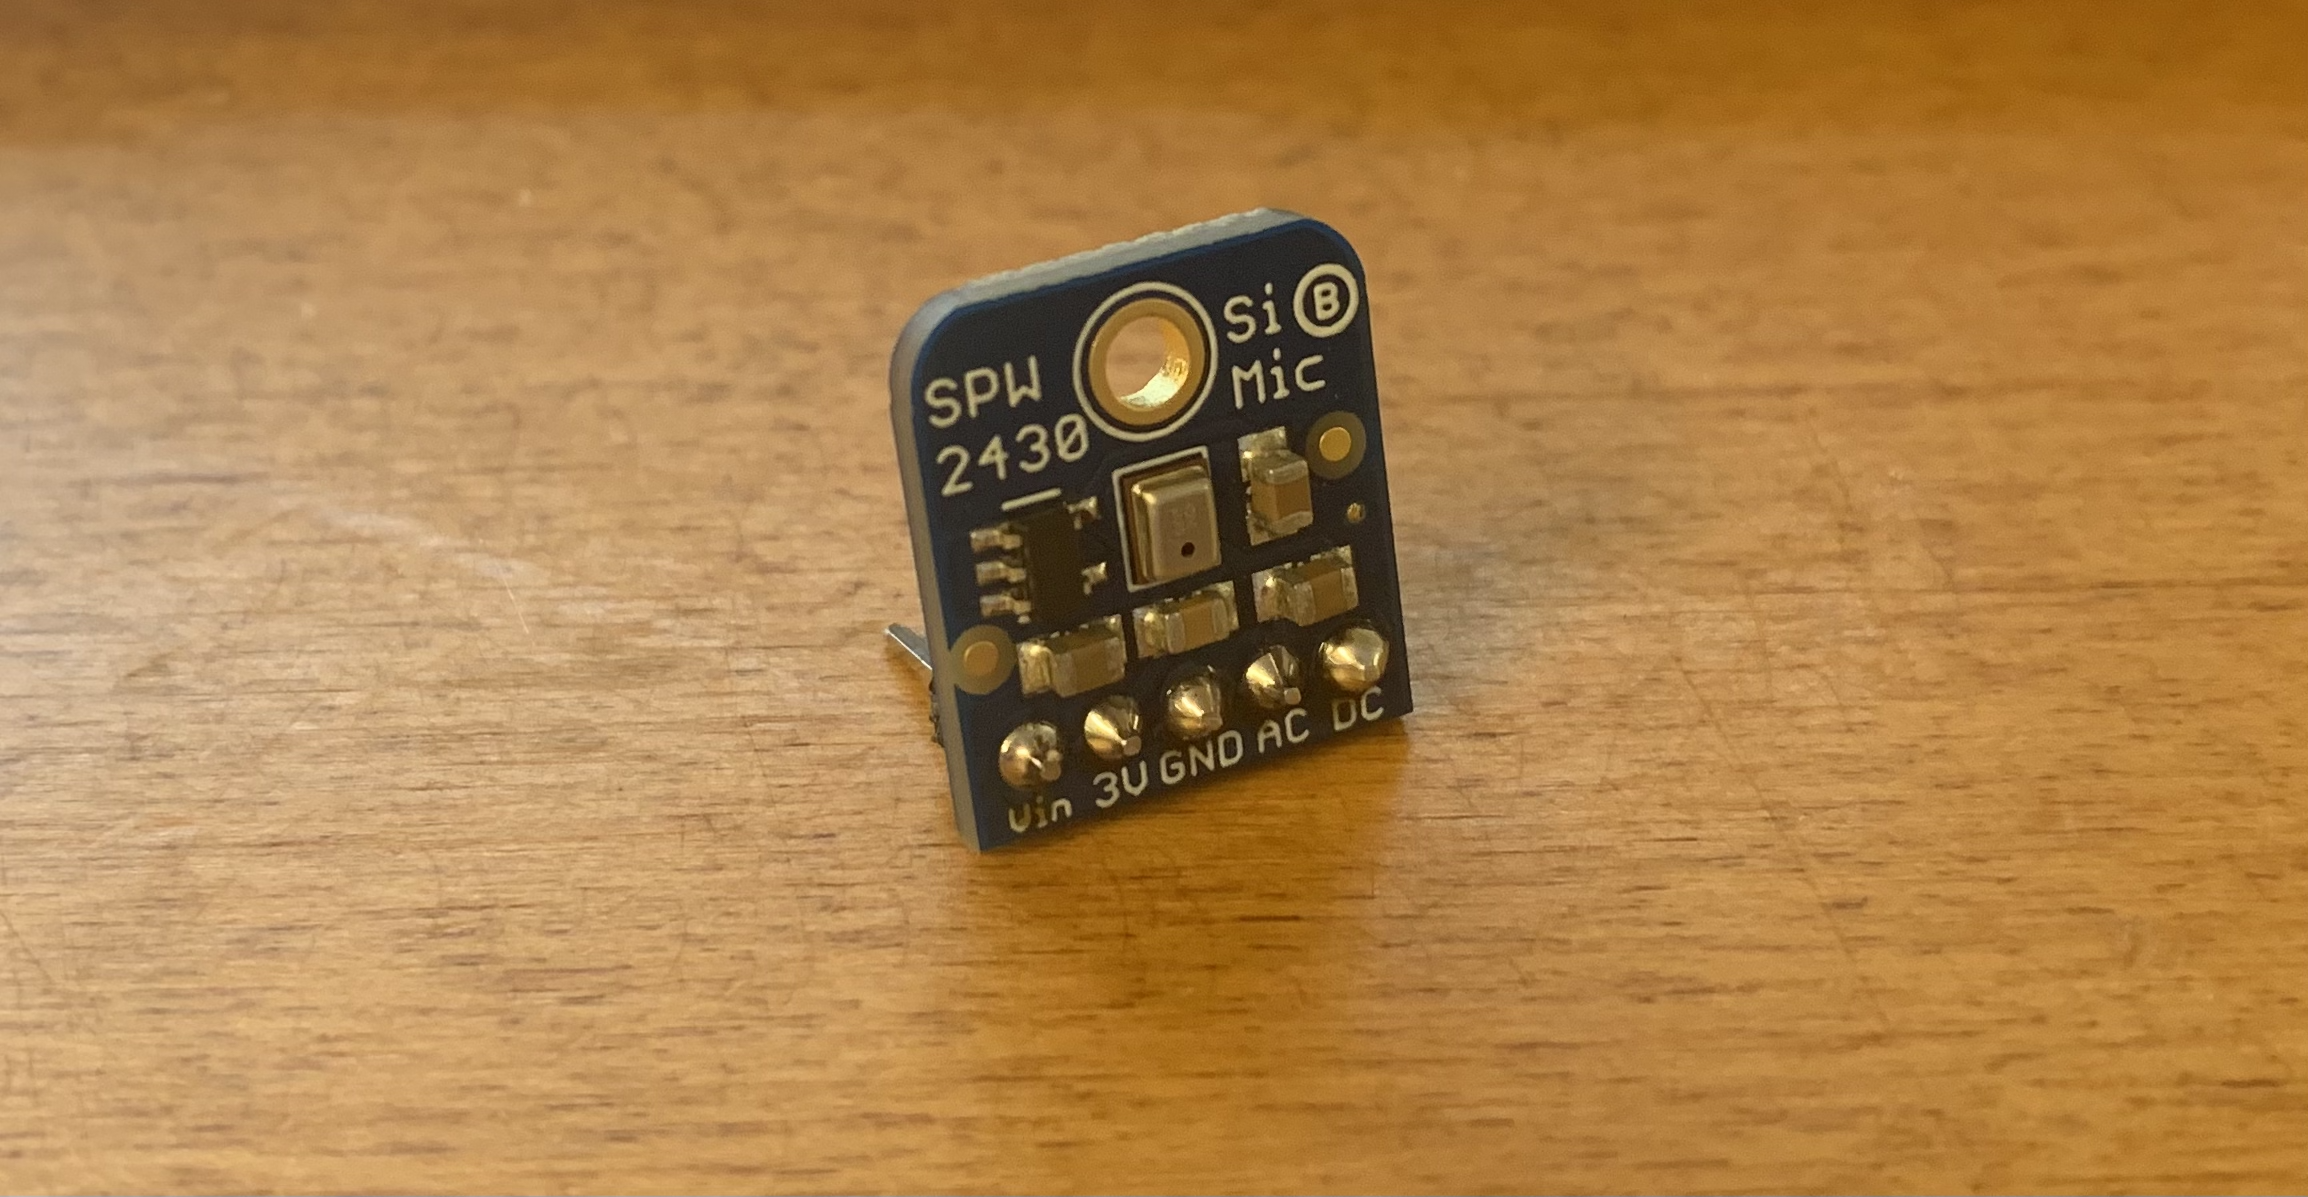
Finally, I modeled two components from my PS70 kit. I decided to model a 9V battery and the SPW2430 Microphone.
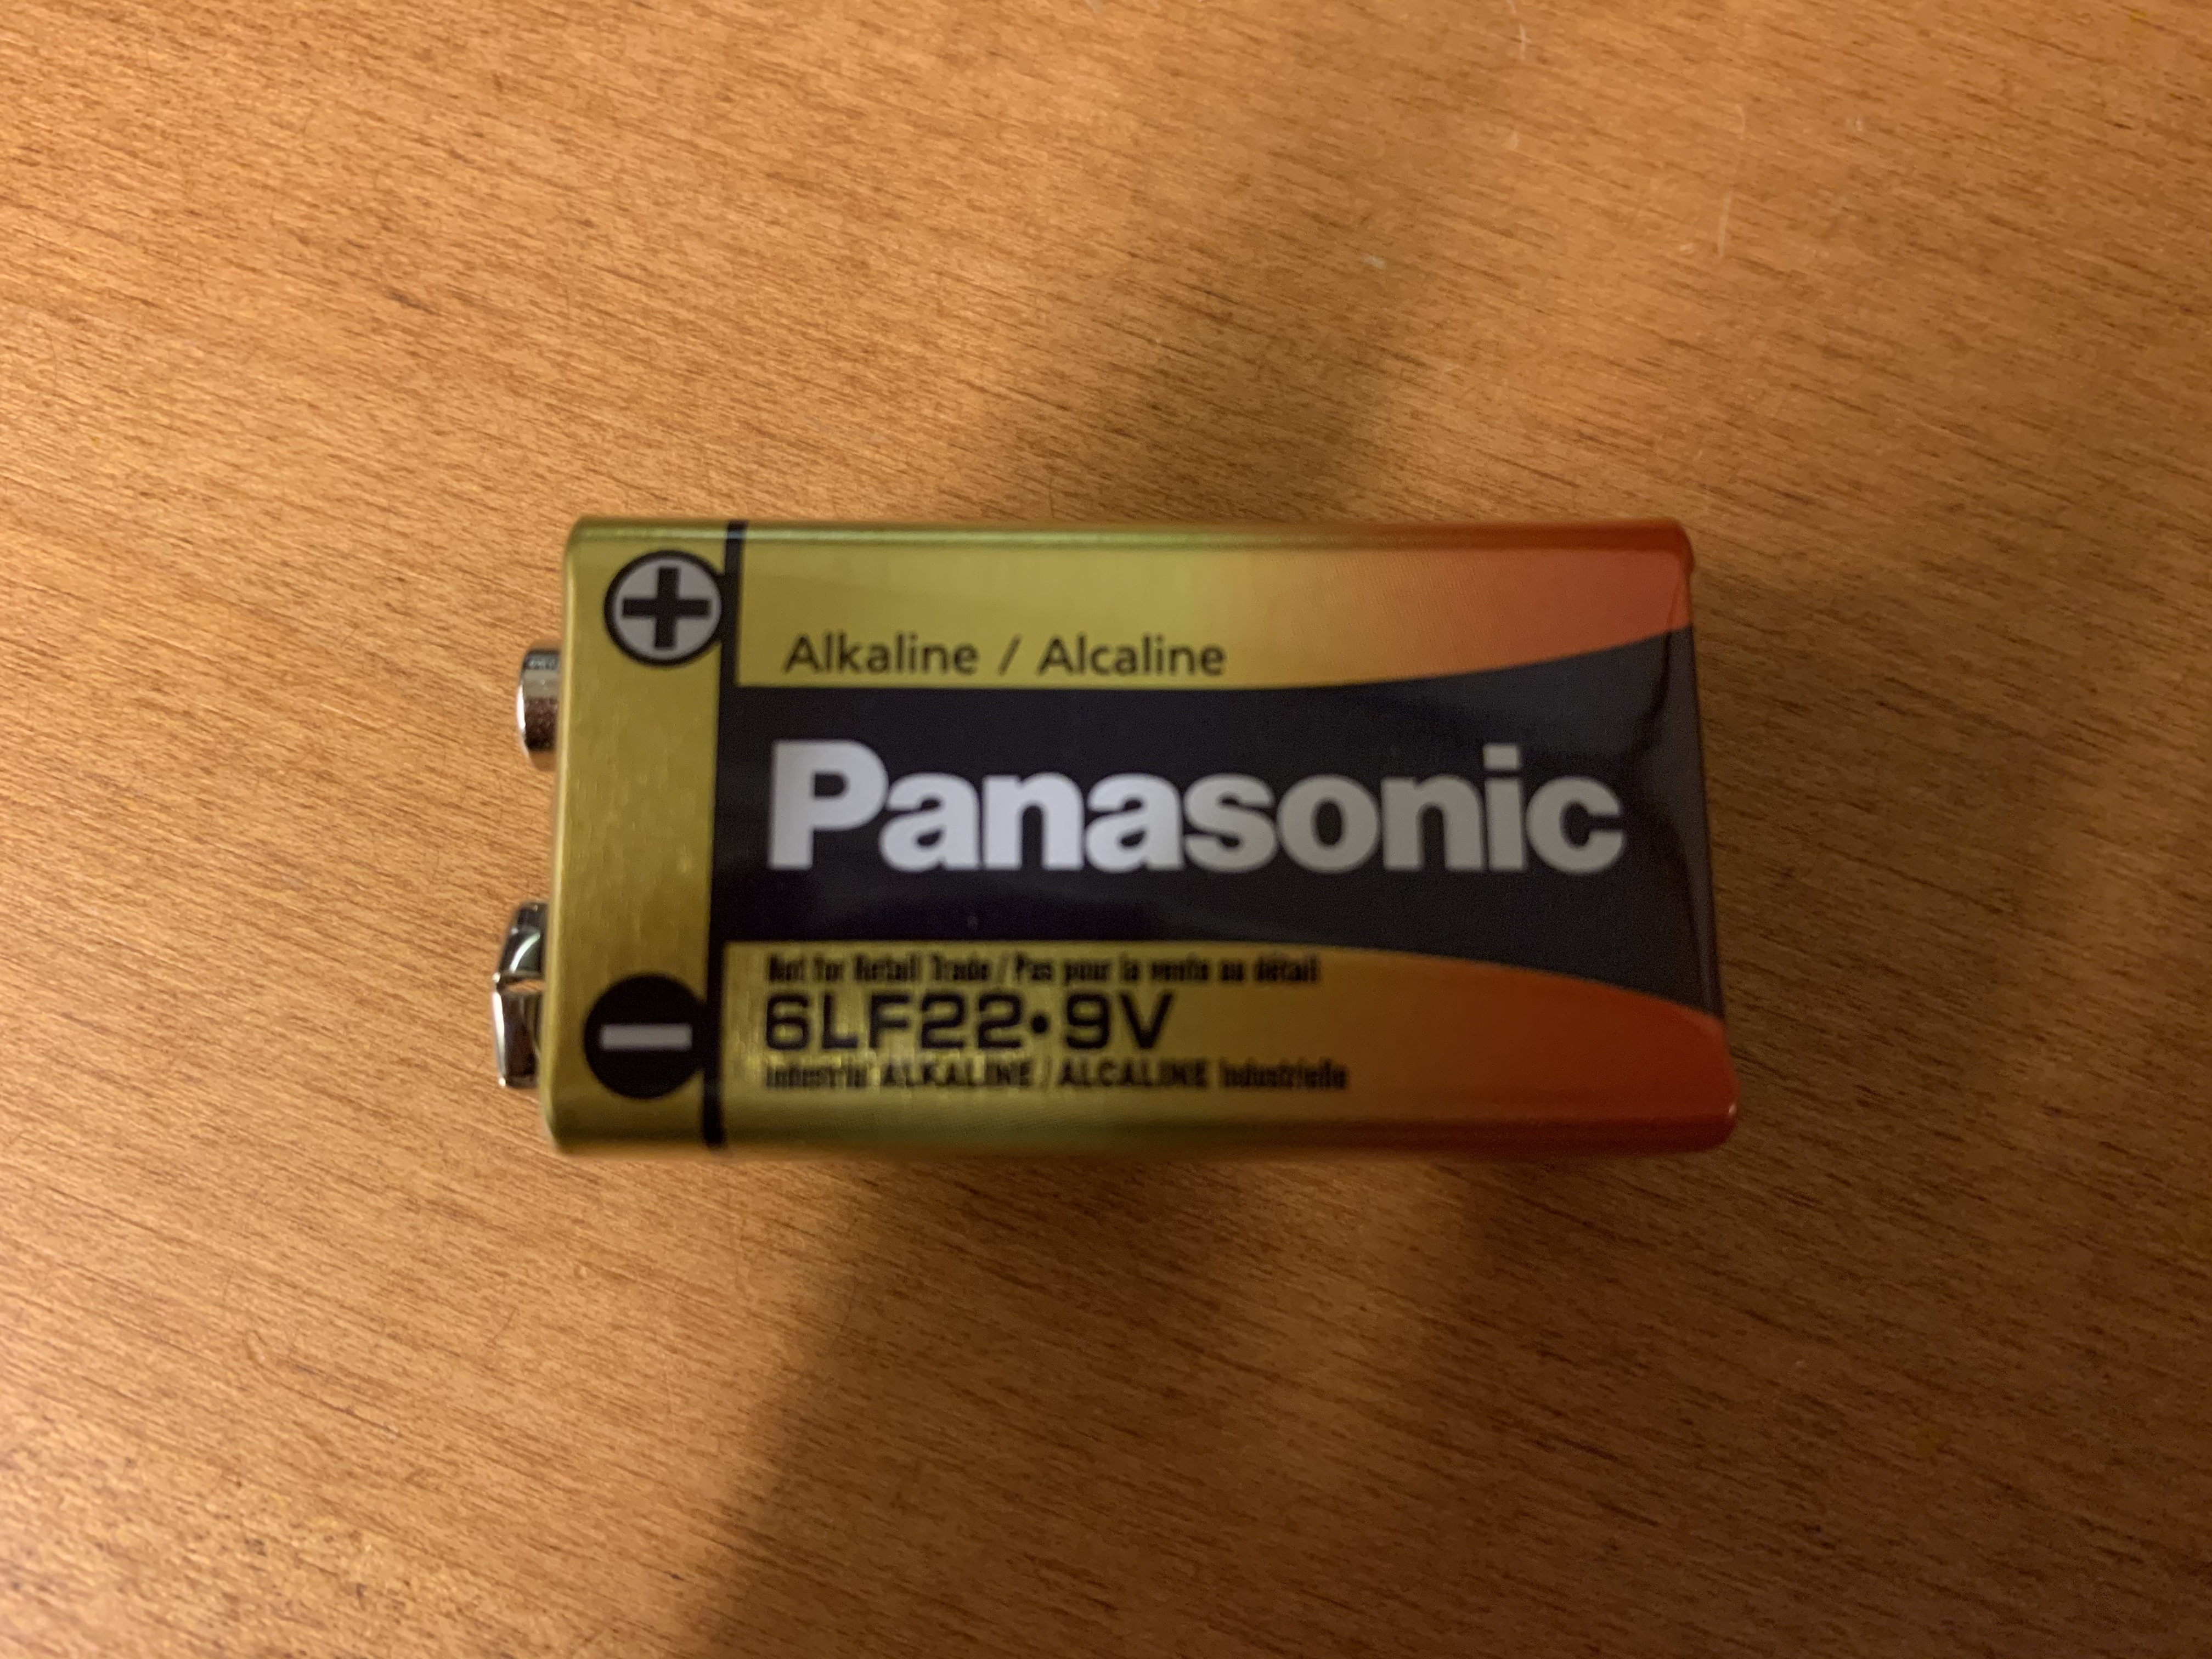
Using the caliber, I got the following measurements for my 9V battery:
Now I can start modeling!
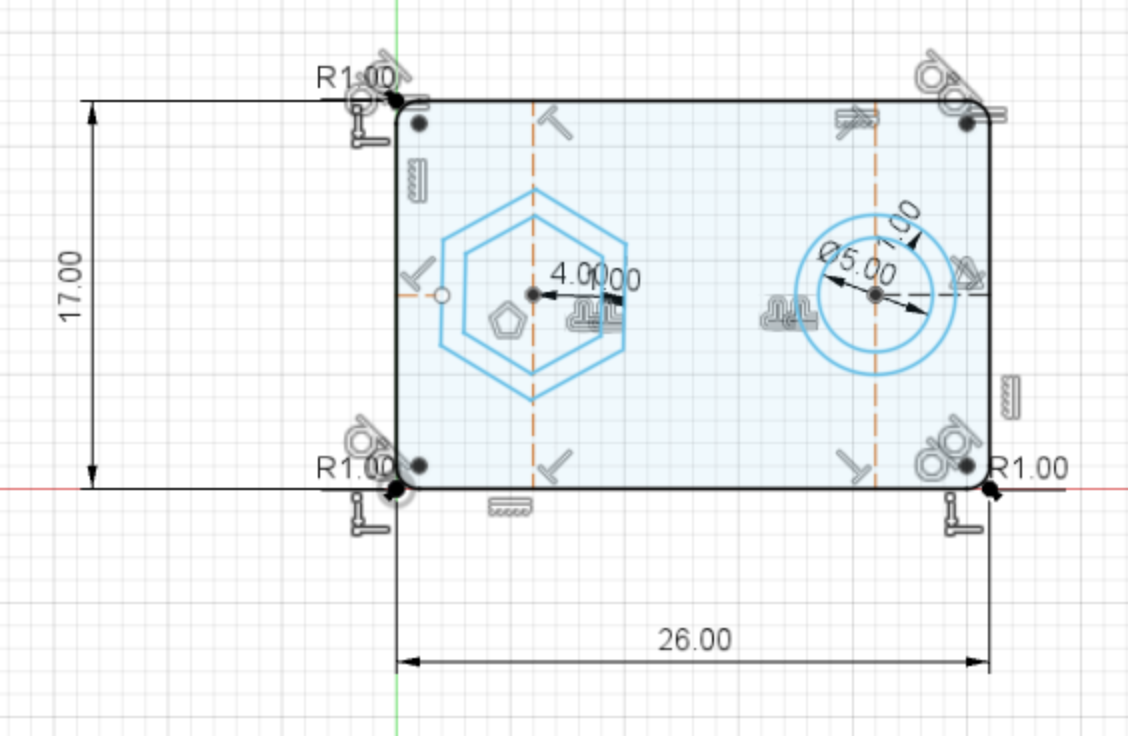
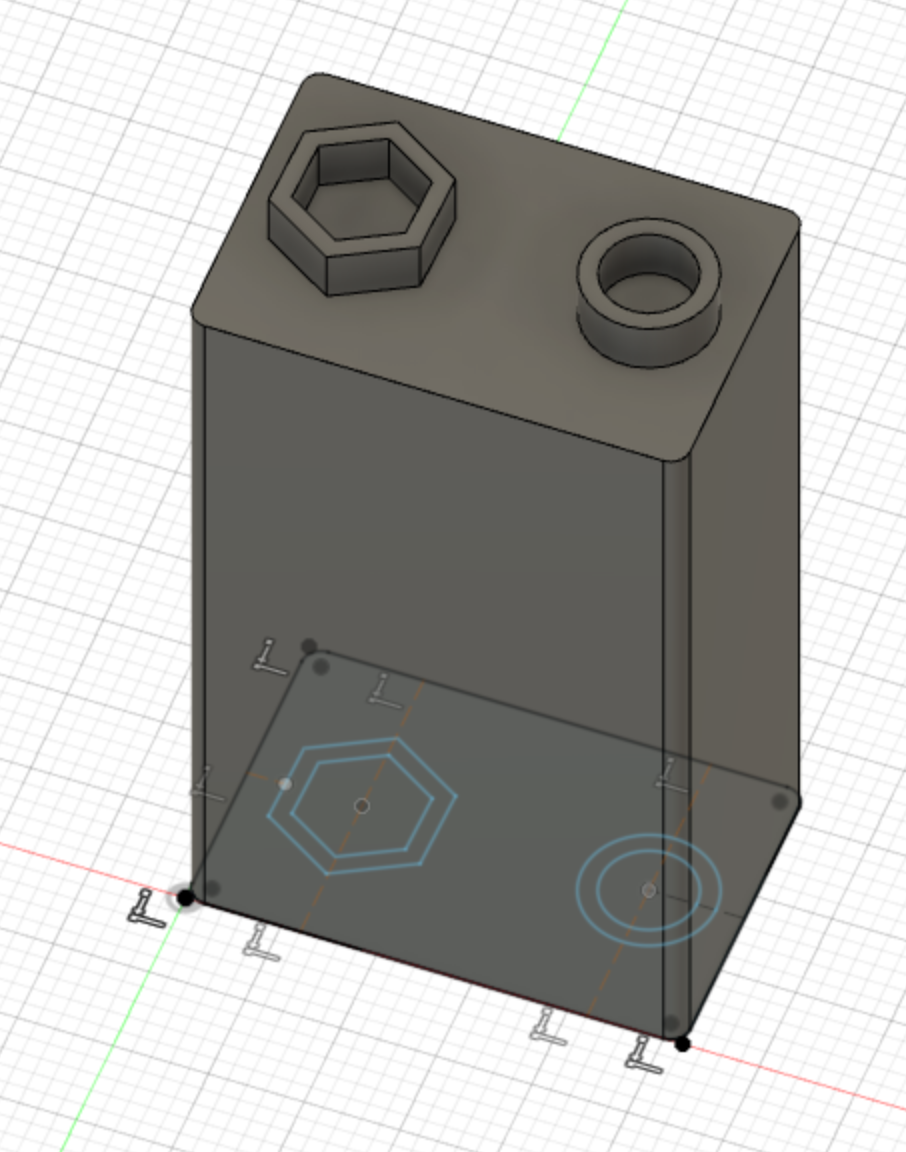
I started sketching the design using reference lines, circles, polygons, the fillet setting, and the dimension tool. I got the following sketch based on my measurements:
I had some trouble offsetting the sketch at first so that the cathode and anode would be sticking out of the battery, but I was able to do some Google searches that led me to this link.
Here is my final product!
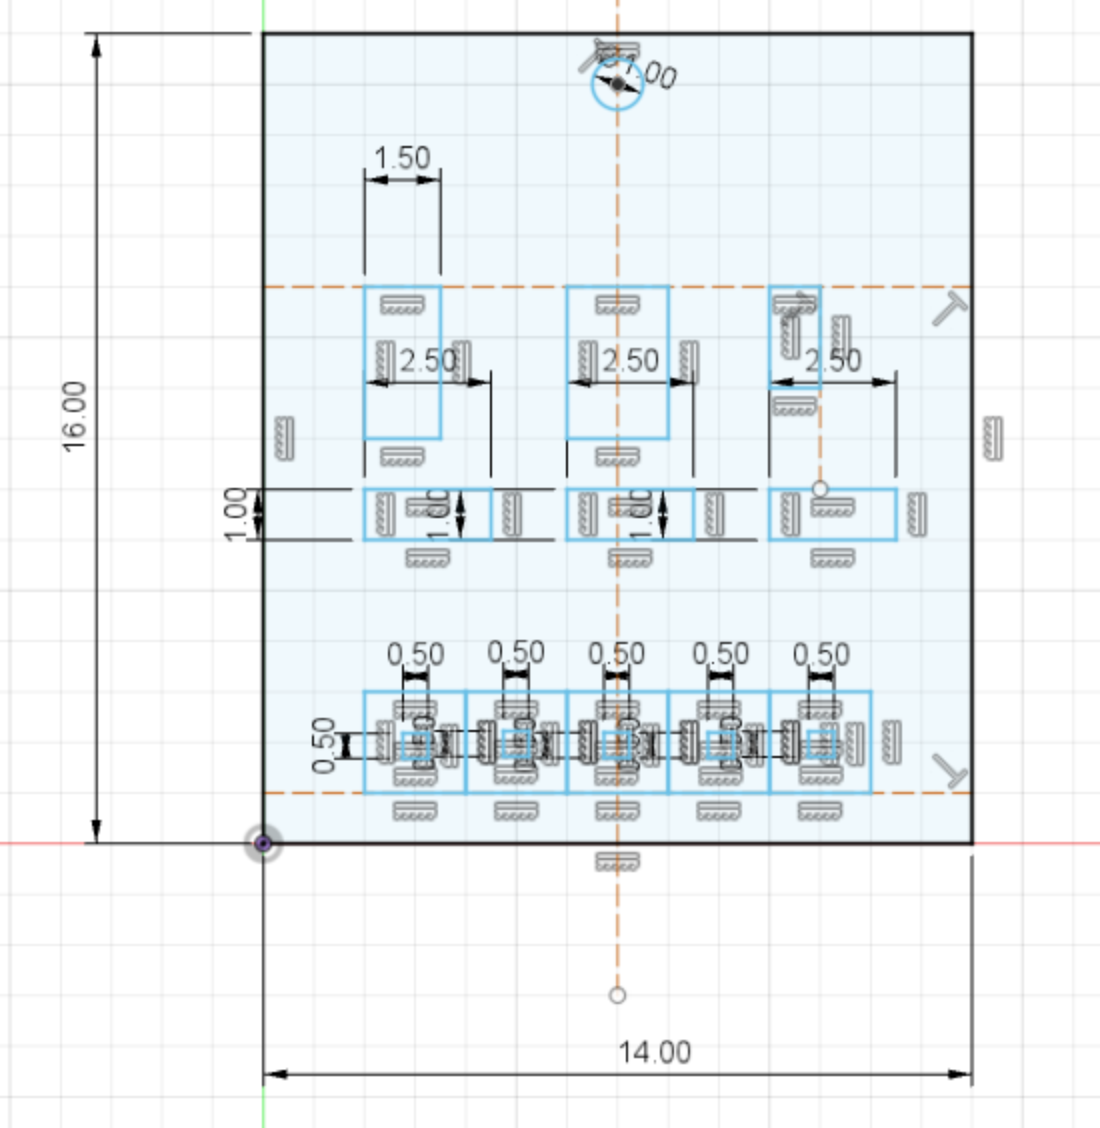
Using the caliber, I got the following measurements for my SPW2430 Microphone:
Here is my final sketch based on my measurements:
After extruding multiple components, I came up with the final product:
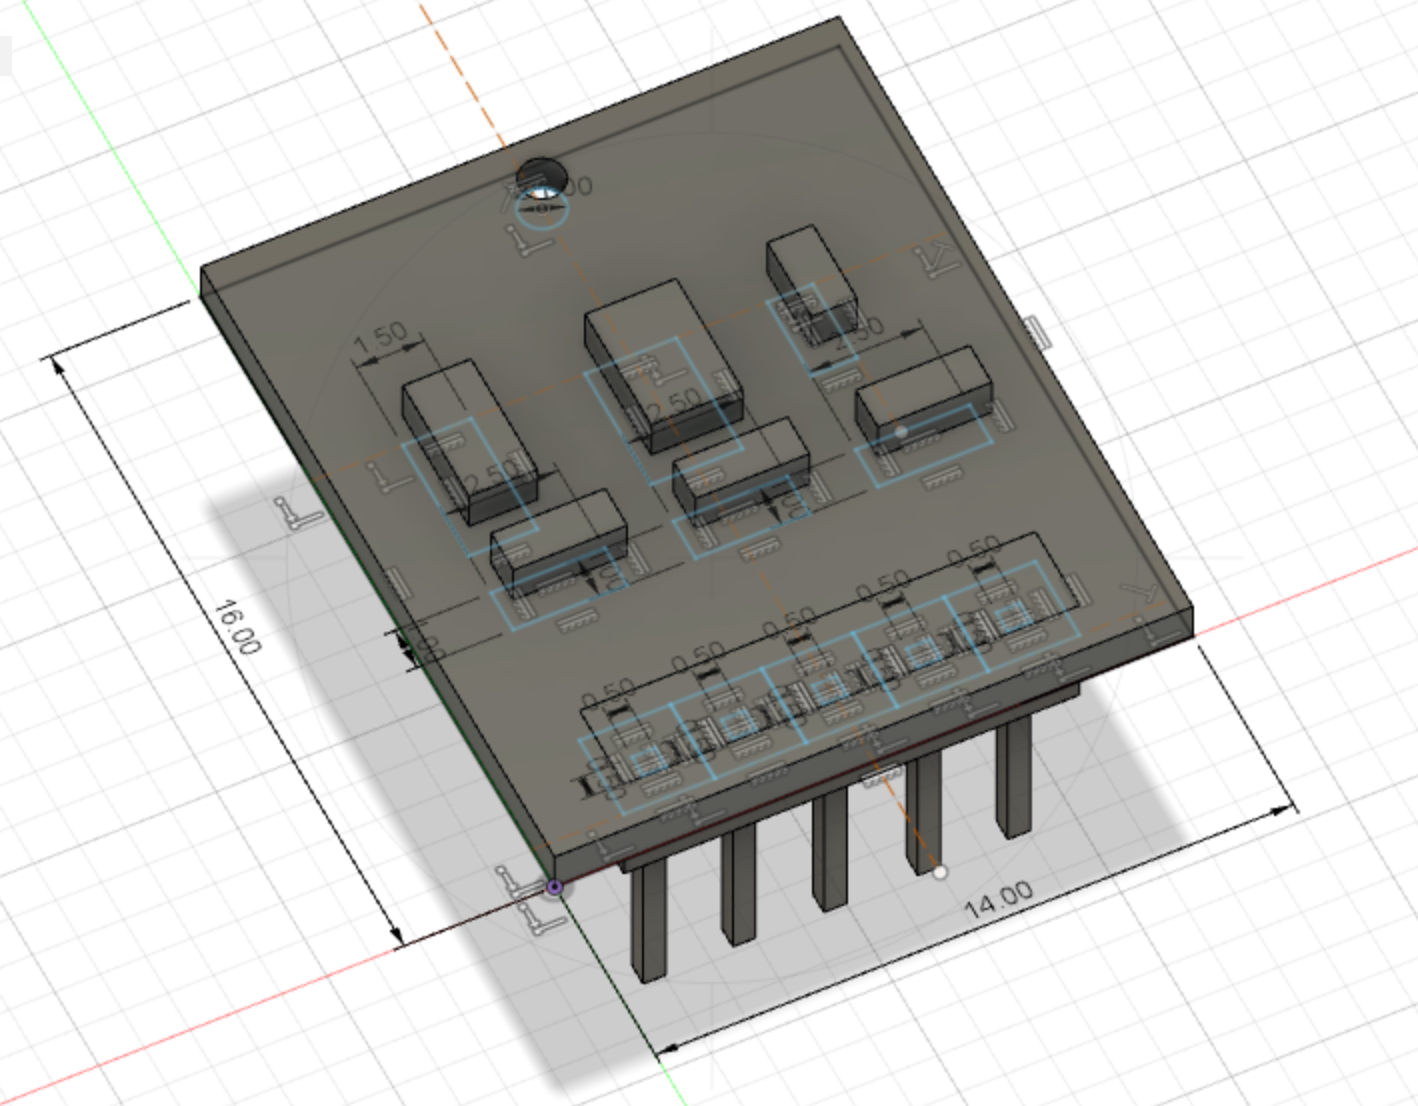
I then loaded the "Data Panel" and dragged and dropped both objects in a new "Assembly" file to create my final assembly using both parts!