
This week we worked on building machines! Using a stepper motor, the Huzzah, DRV8834 Low-Voltage Stepper Driver, Stepper Motor, laser cutted parts, and a capacitor and a button, I made a machine!
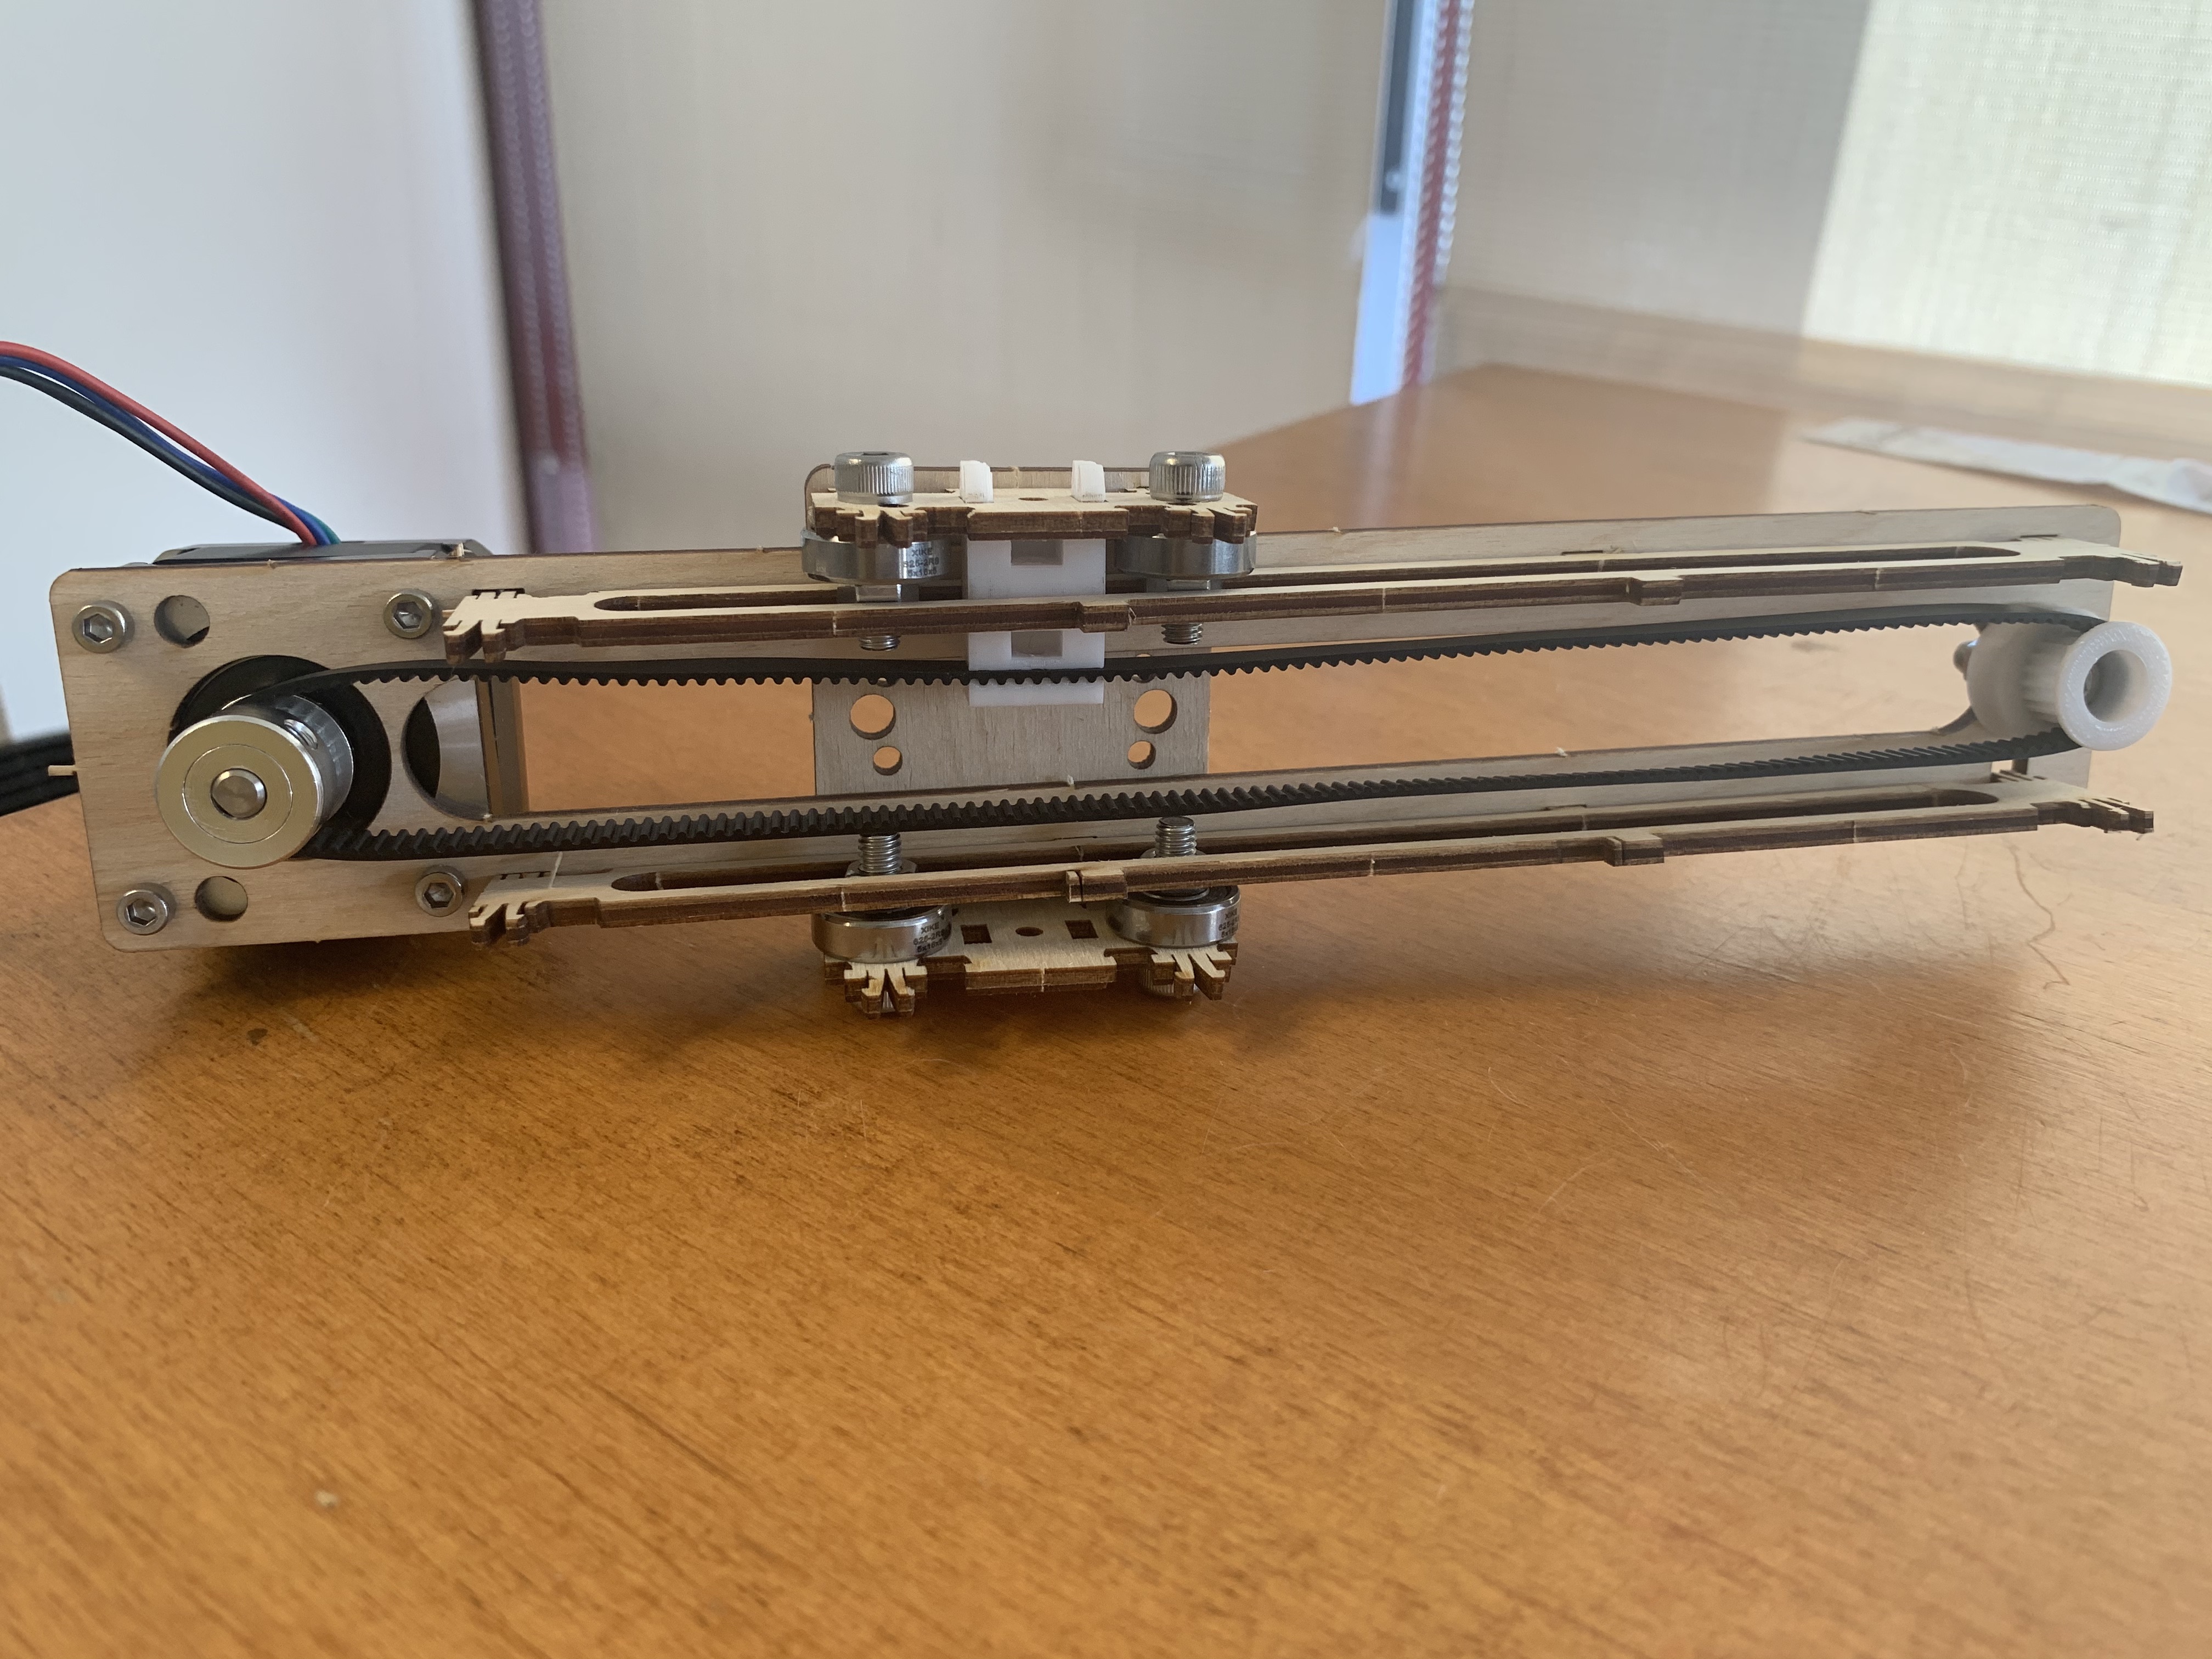
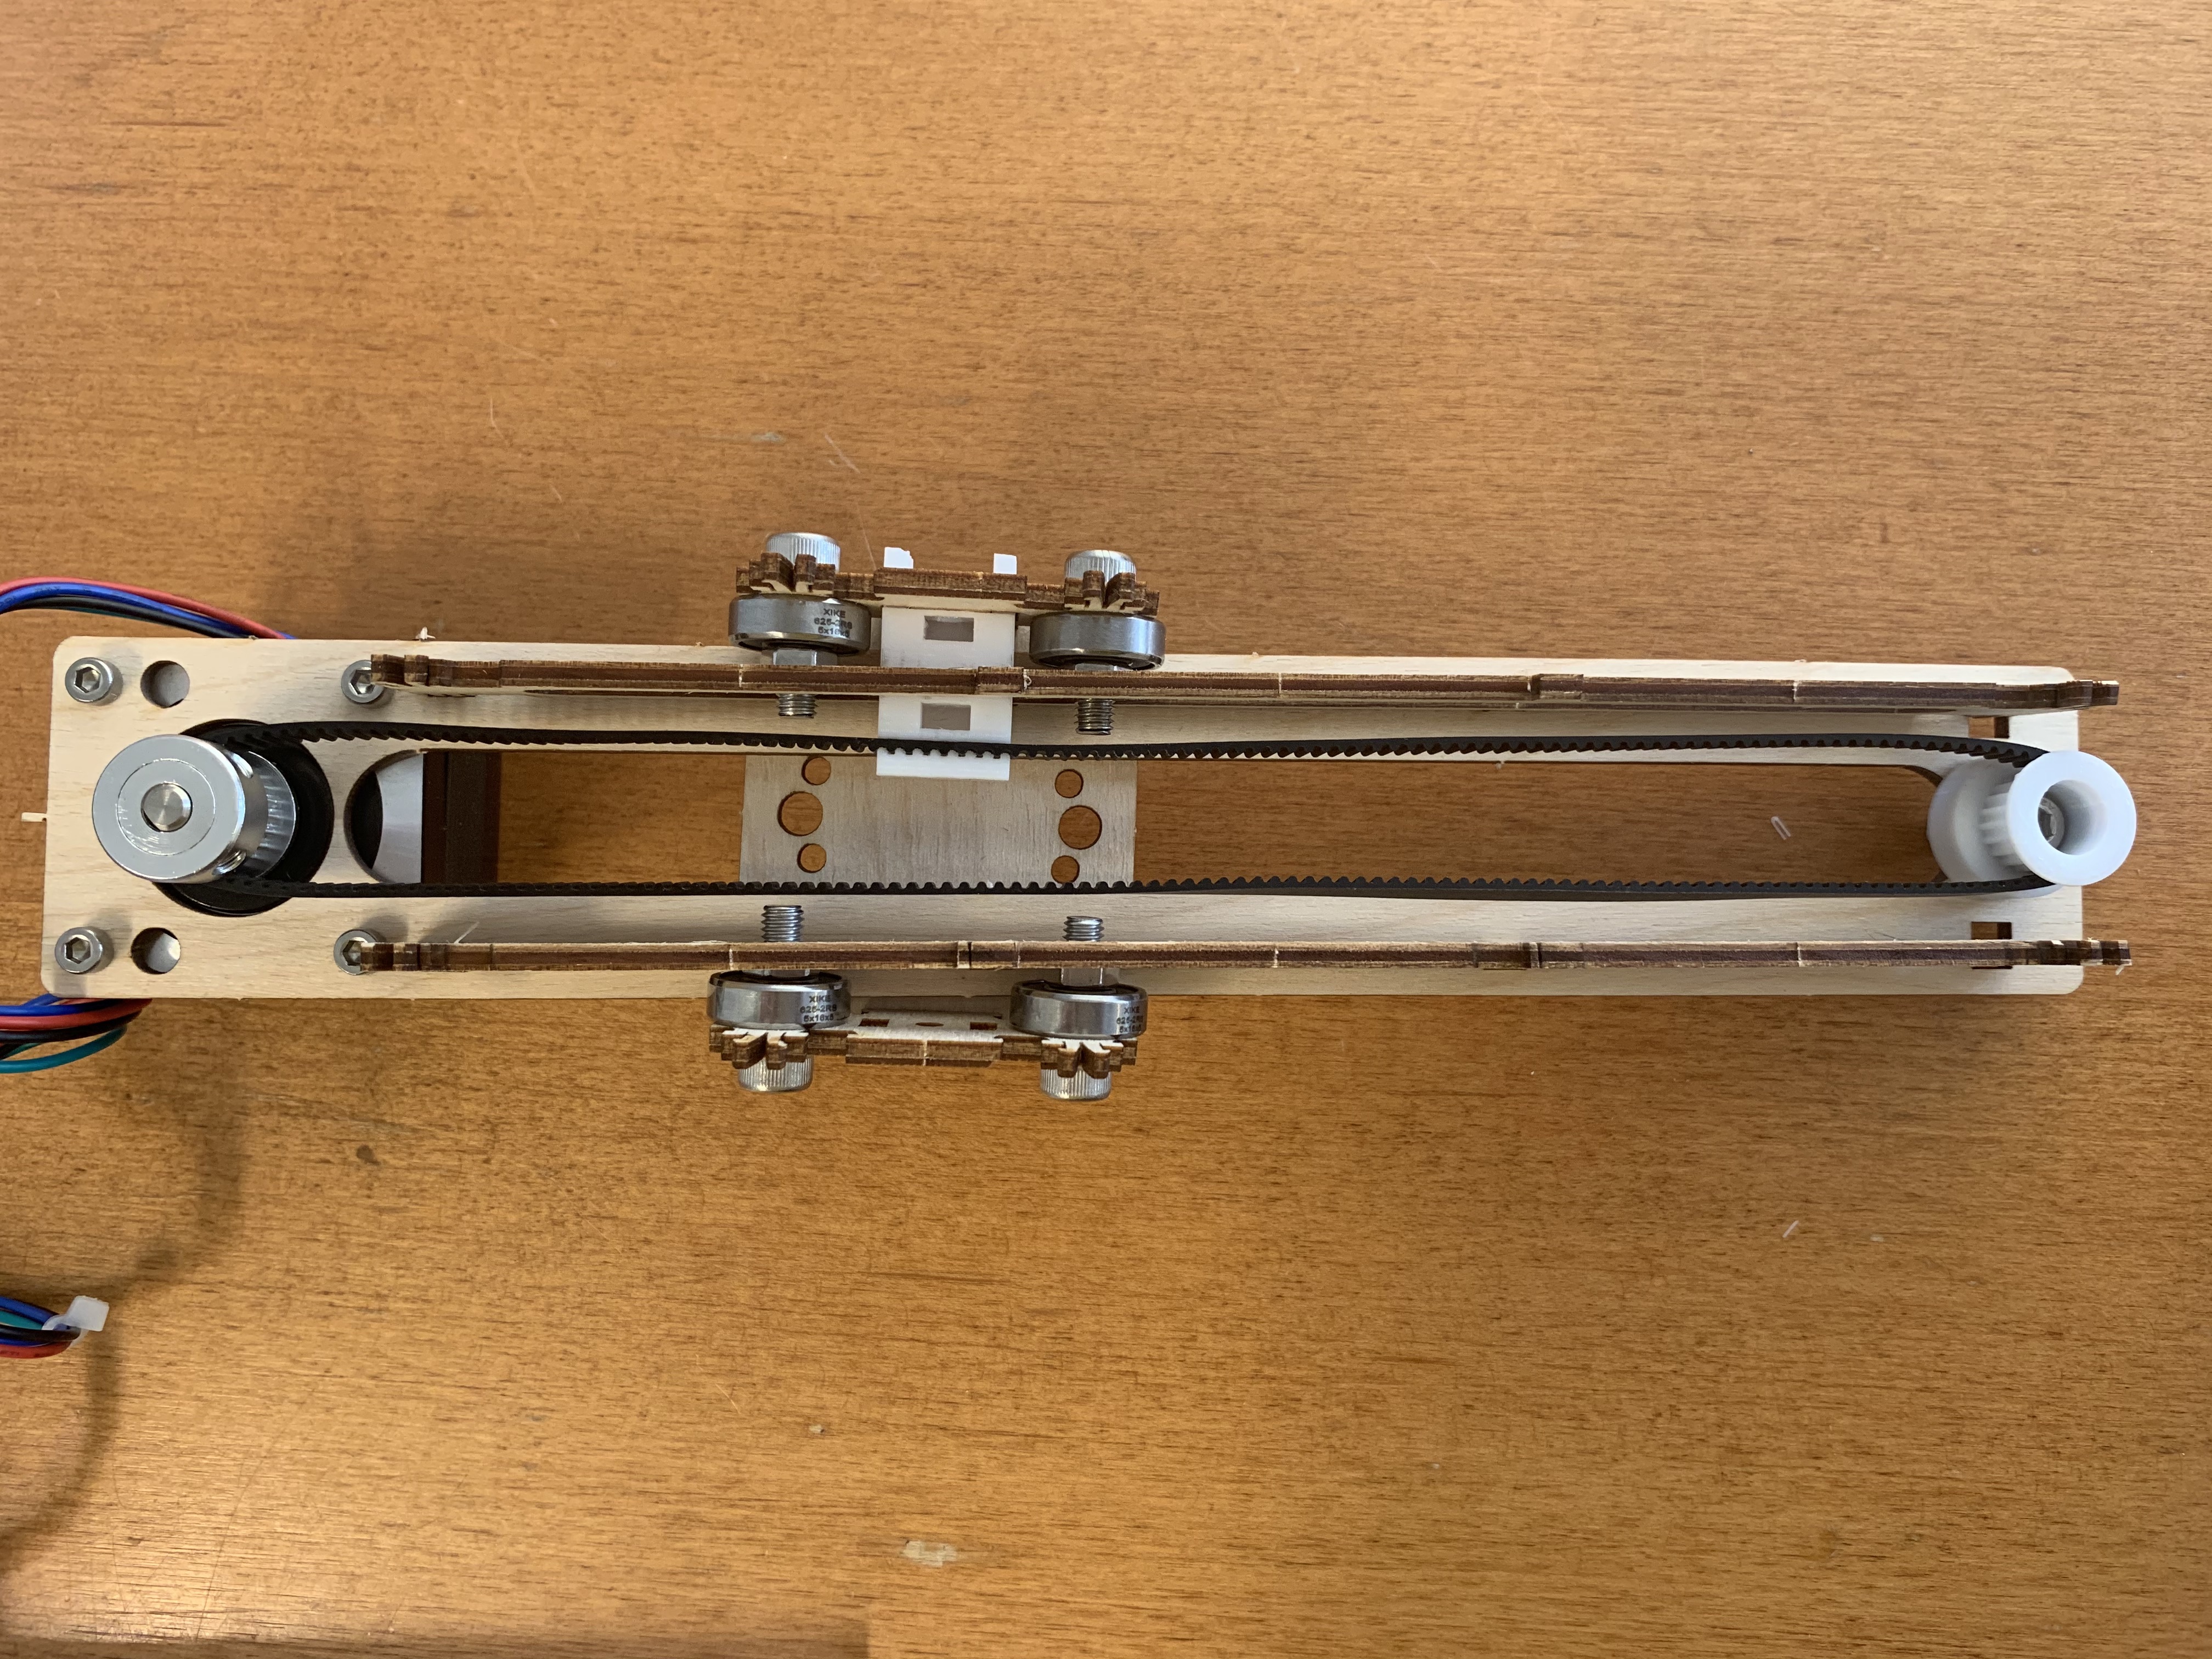
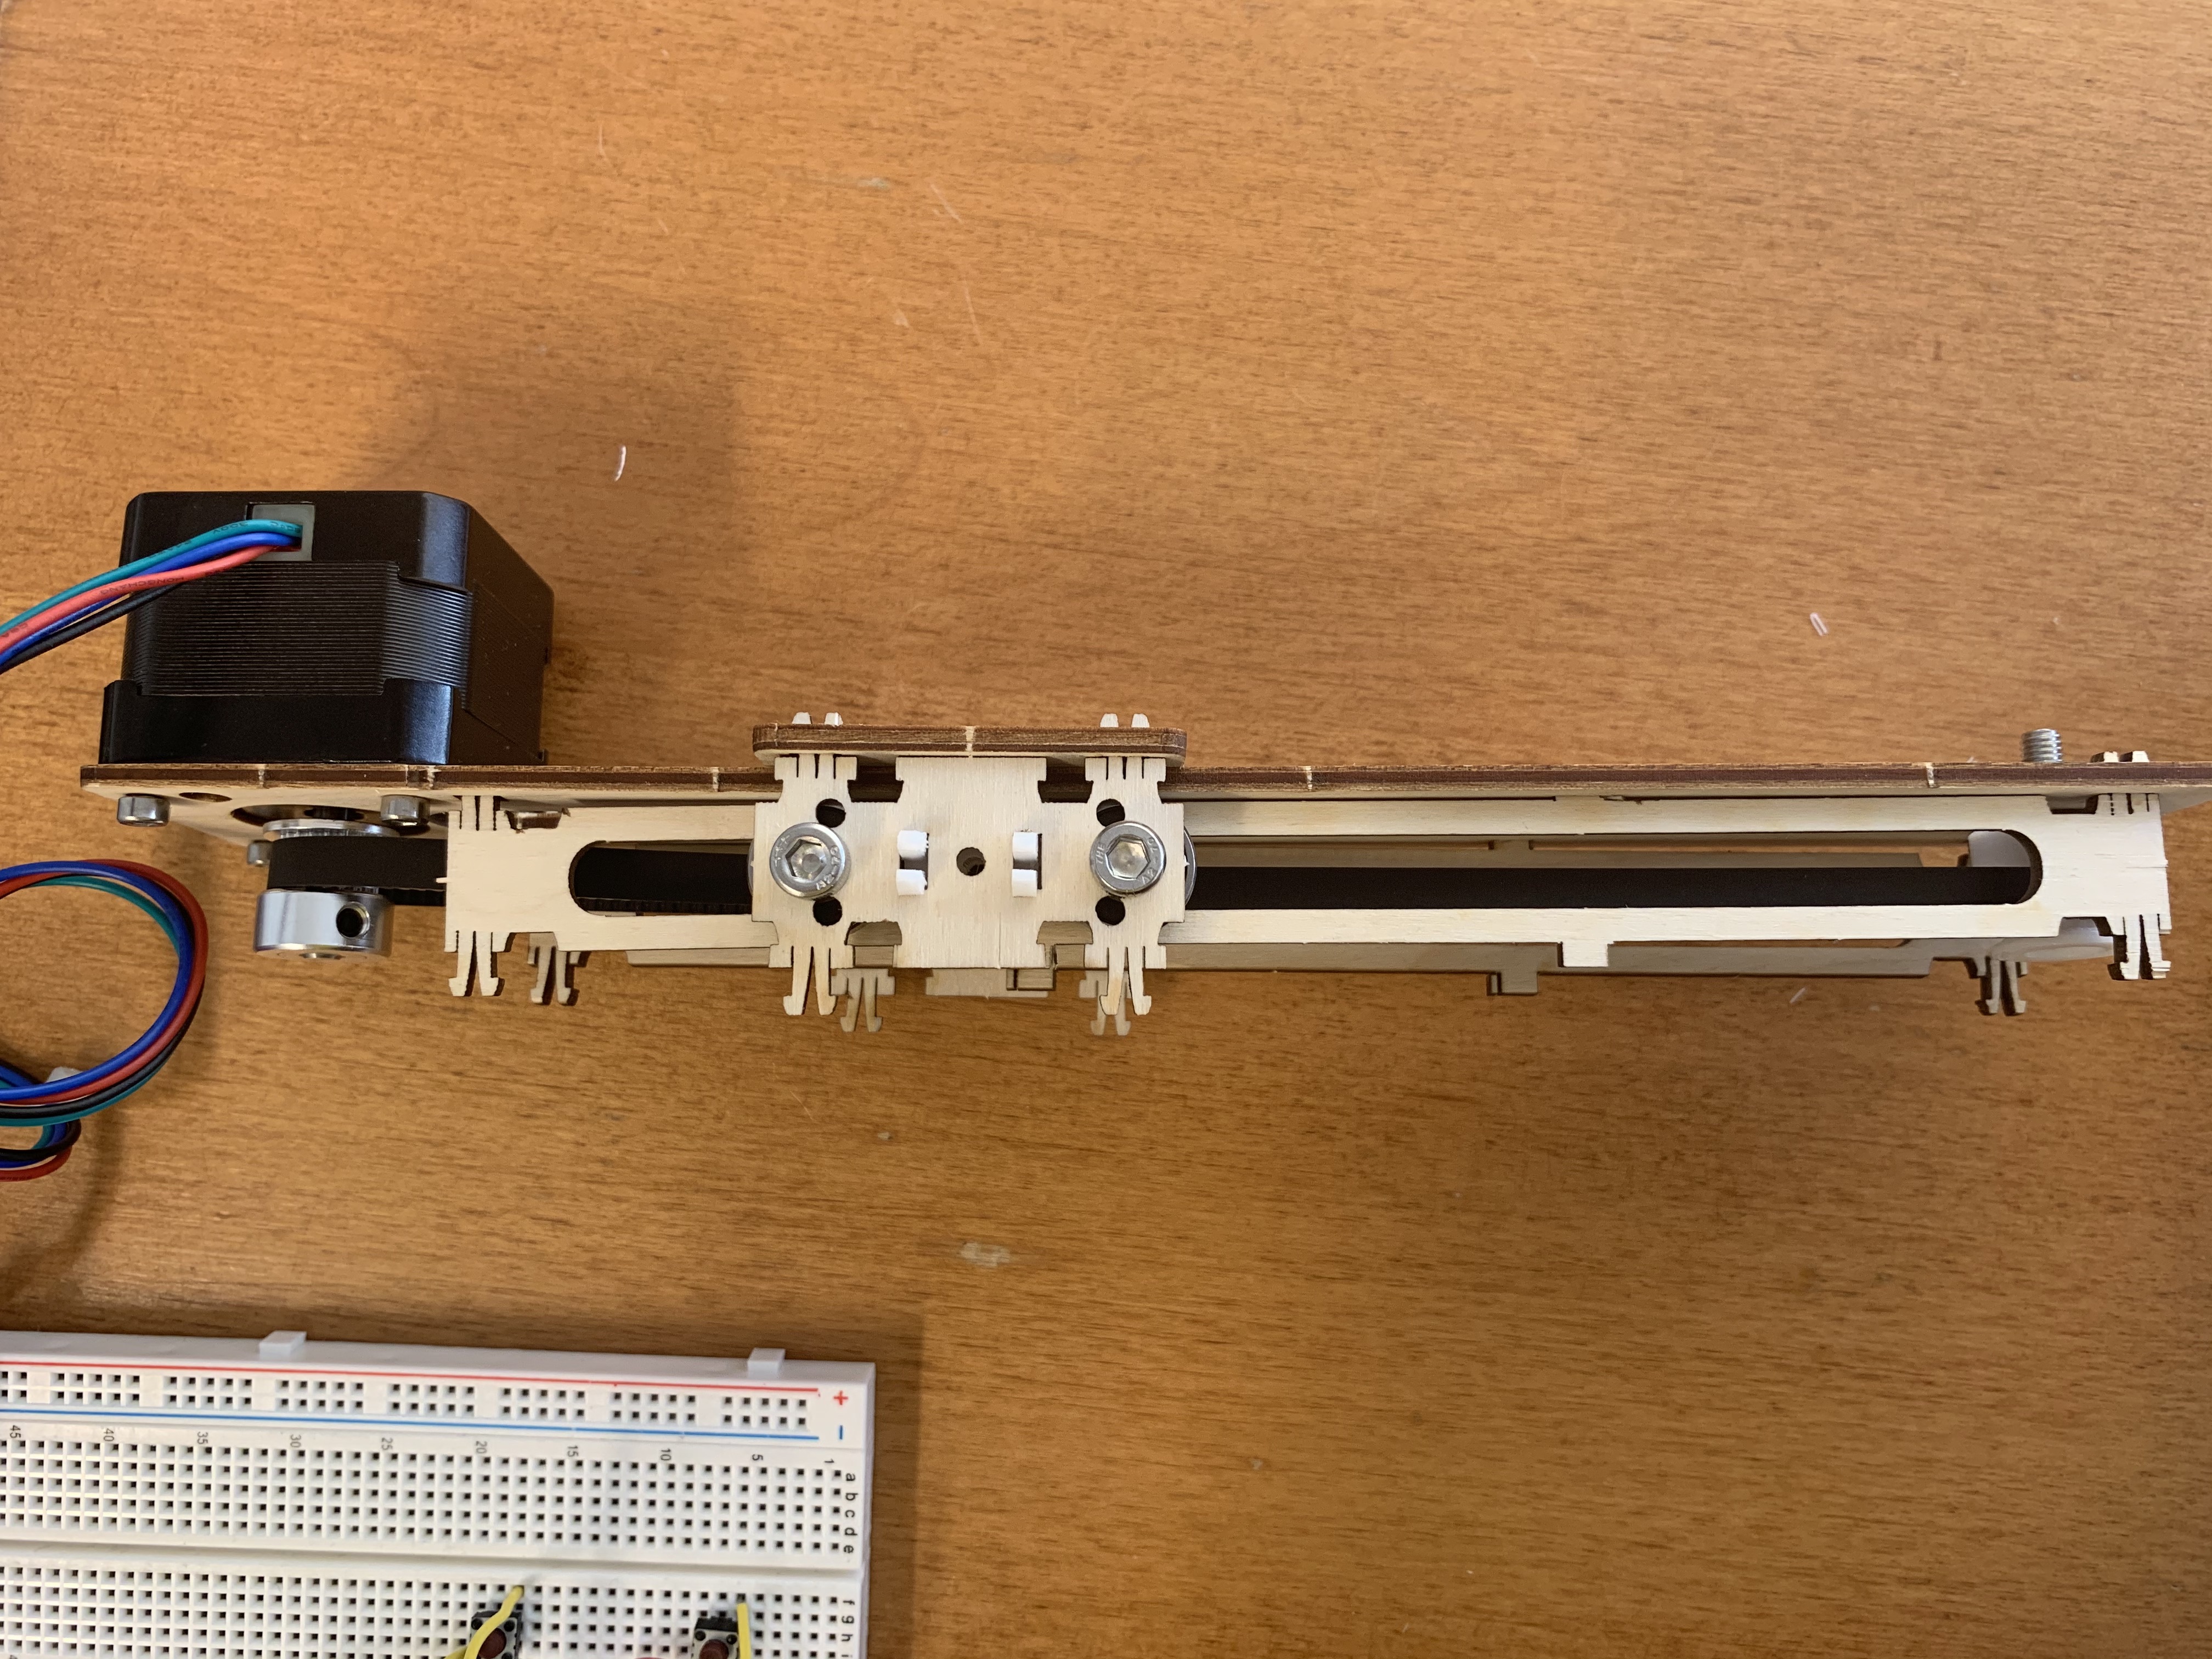
I constructed a pulley system using lasercut parts in class using this tutorial. It took a while to fully assemble the design, and I had to raise and lower the aluminum pulley to make sure that the timing belt was straight. I also built the entire carriage and then installed it on the pulley rather than keeping it as two separate parts. This made it more difficult to troubleshoot because it took me a while to realize how loose the screws were on the carriage.
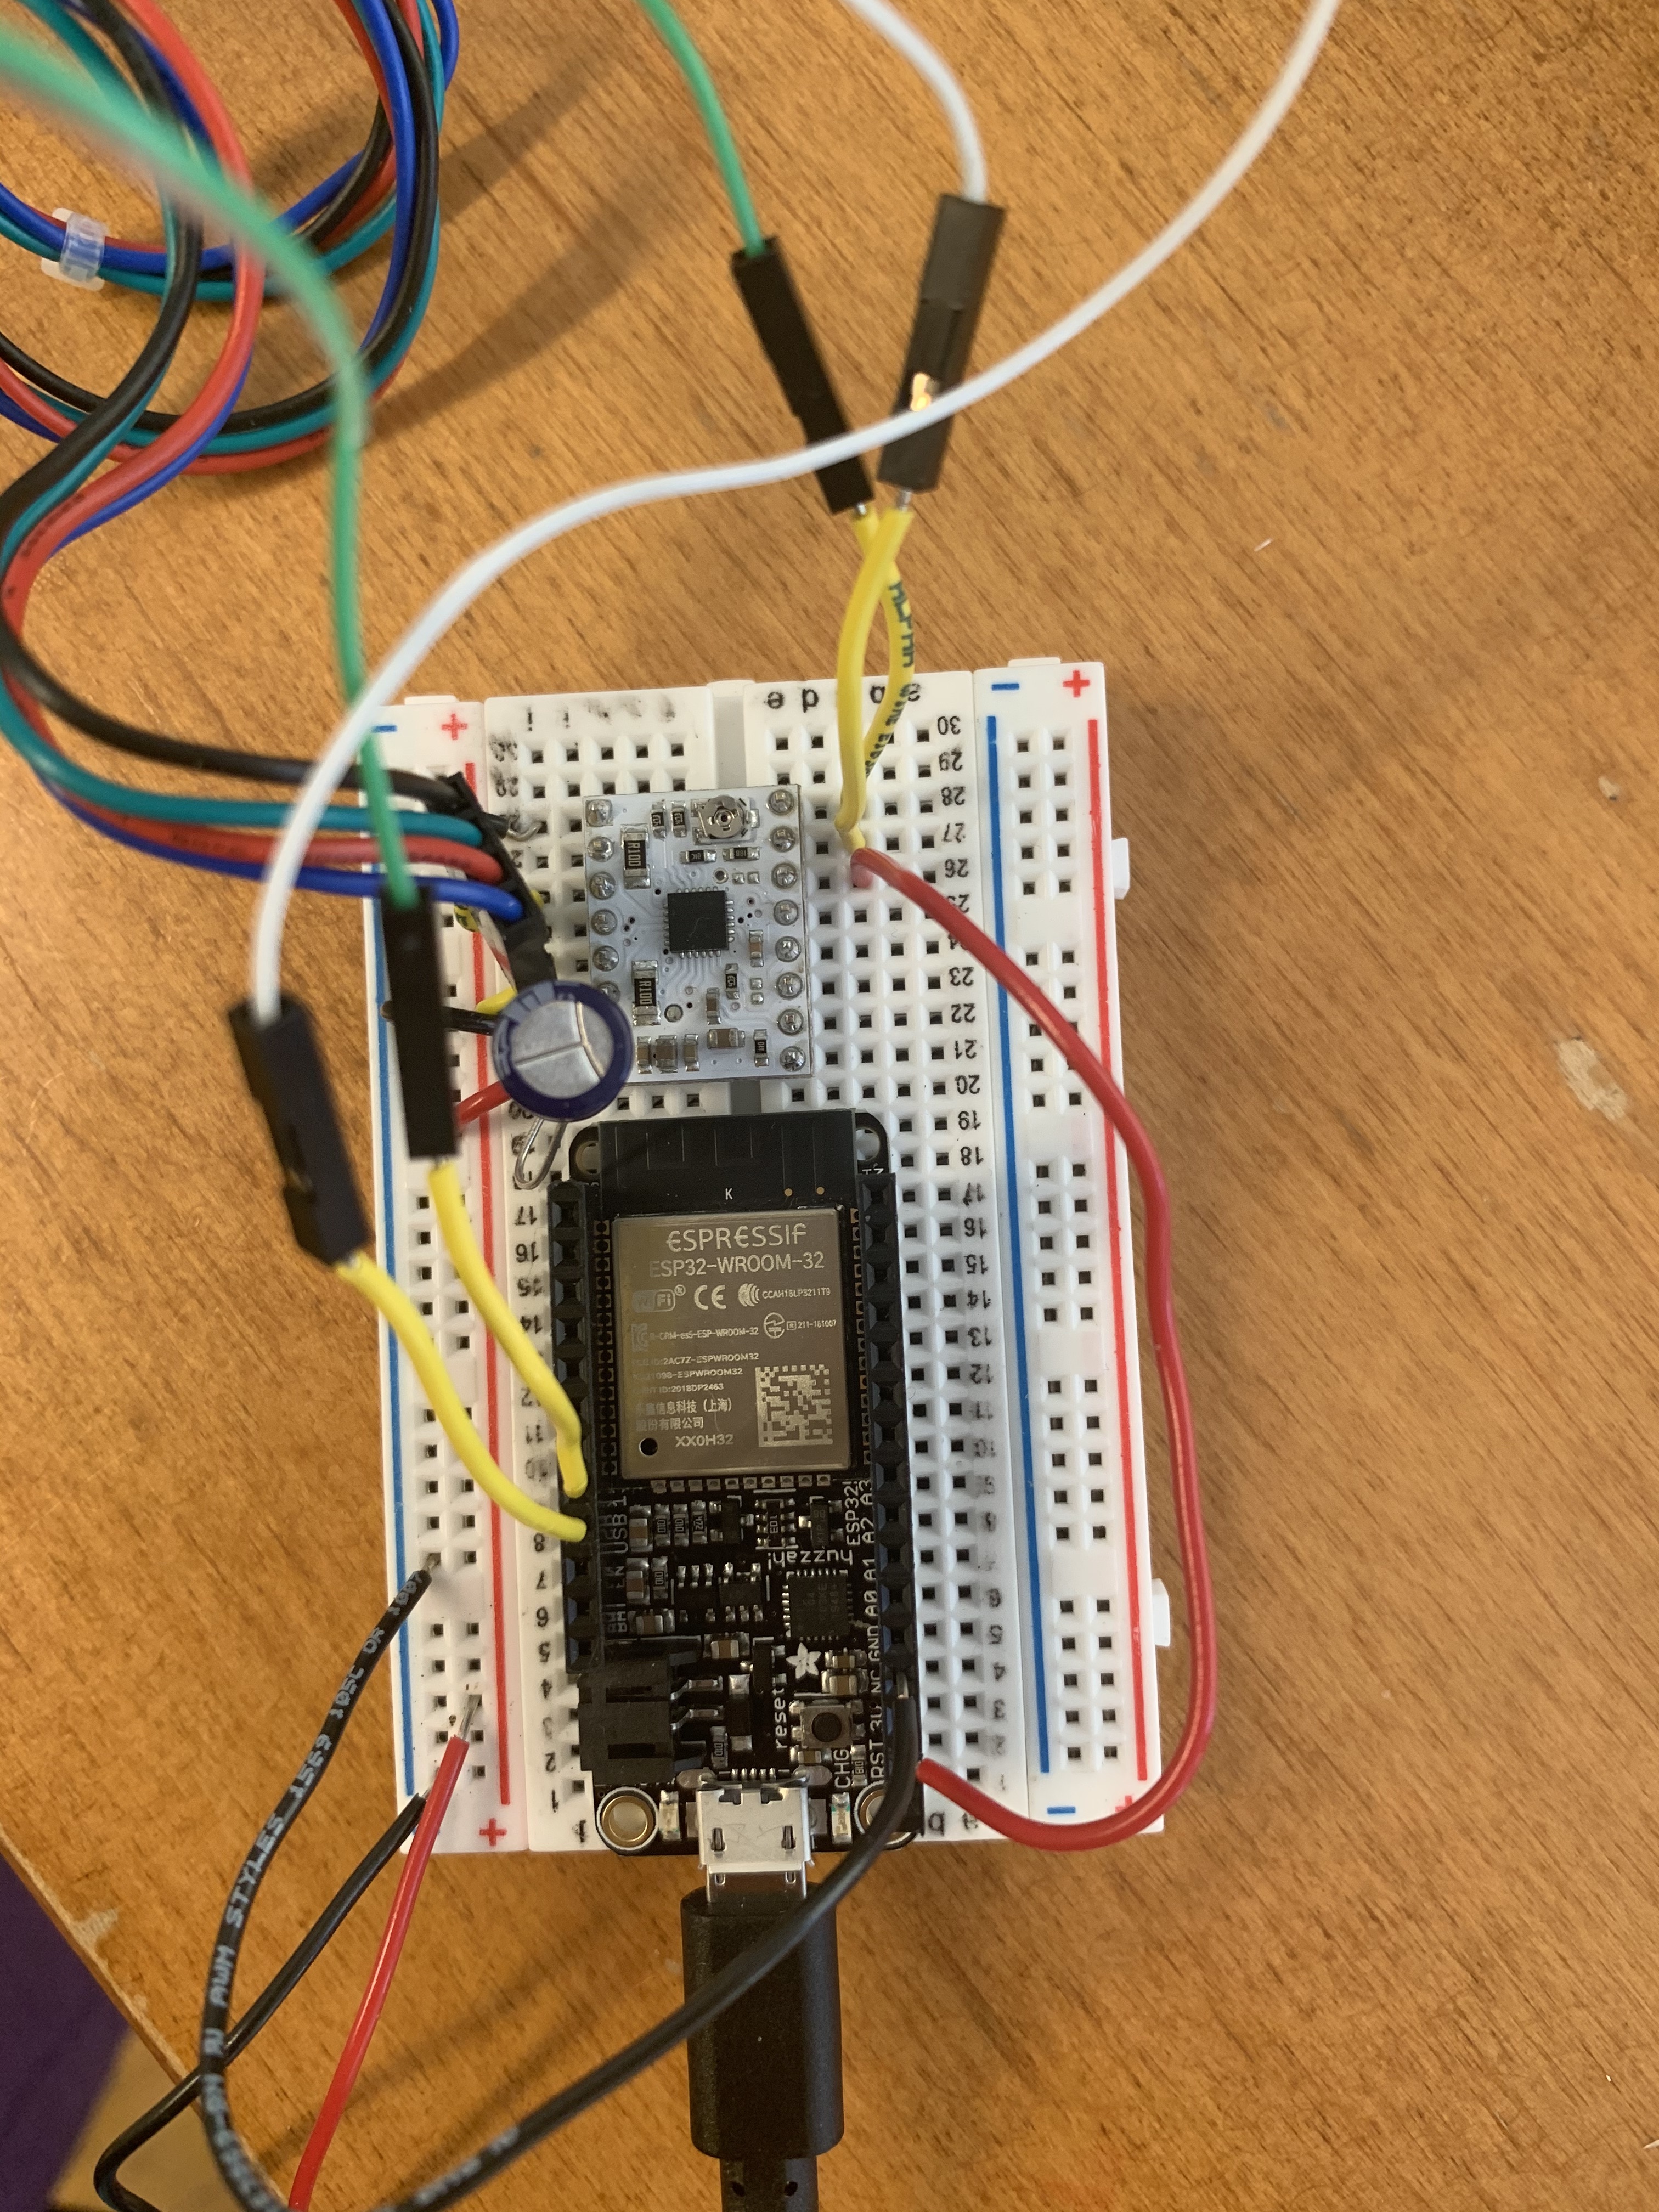
Now that I had a machine built, I needed to wire the stepper motor using the Wiring section of this tutorial. I decided to follow the power guidelines provided in the instructions and use a barrel jack connector to connect a 9V wall outlet supply as the motor power supply, and used 3V on the Huzzah as the logic power supply.
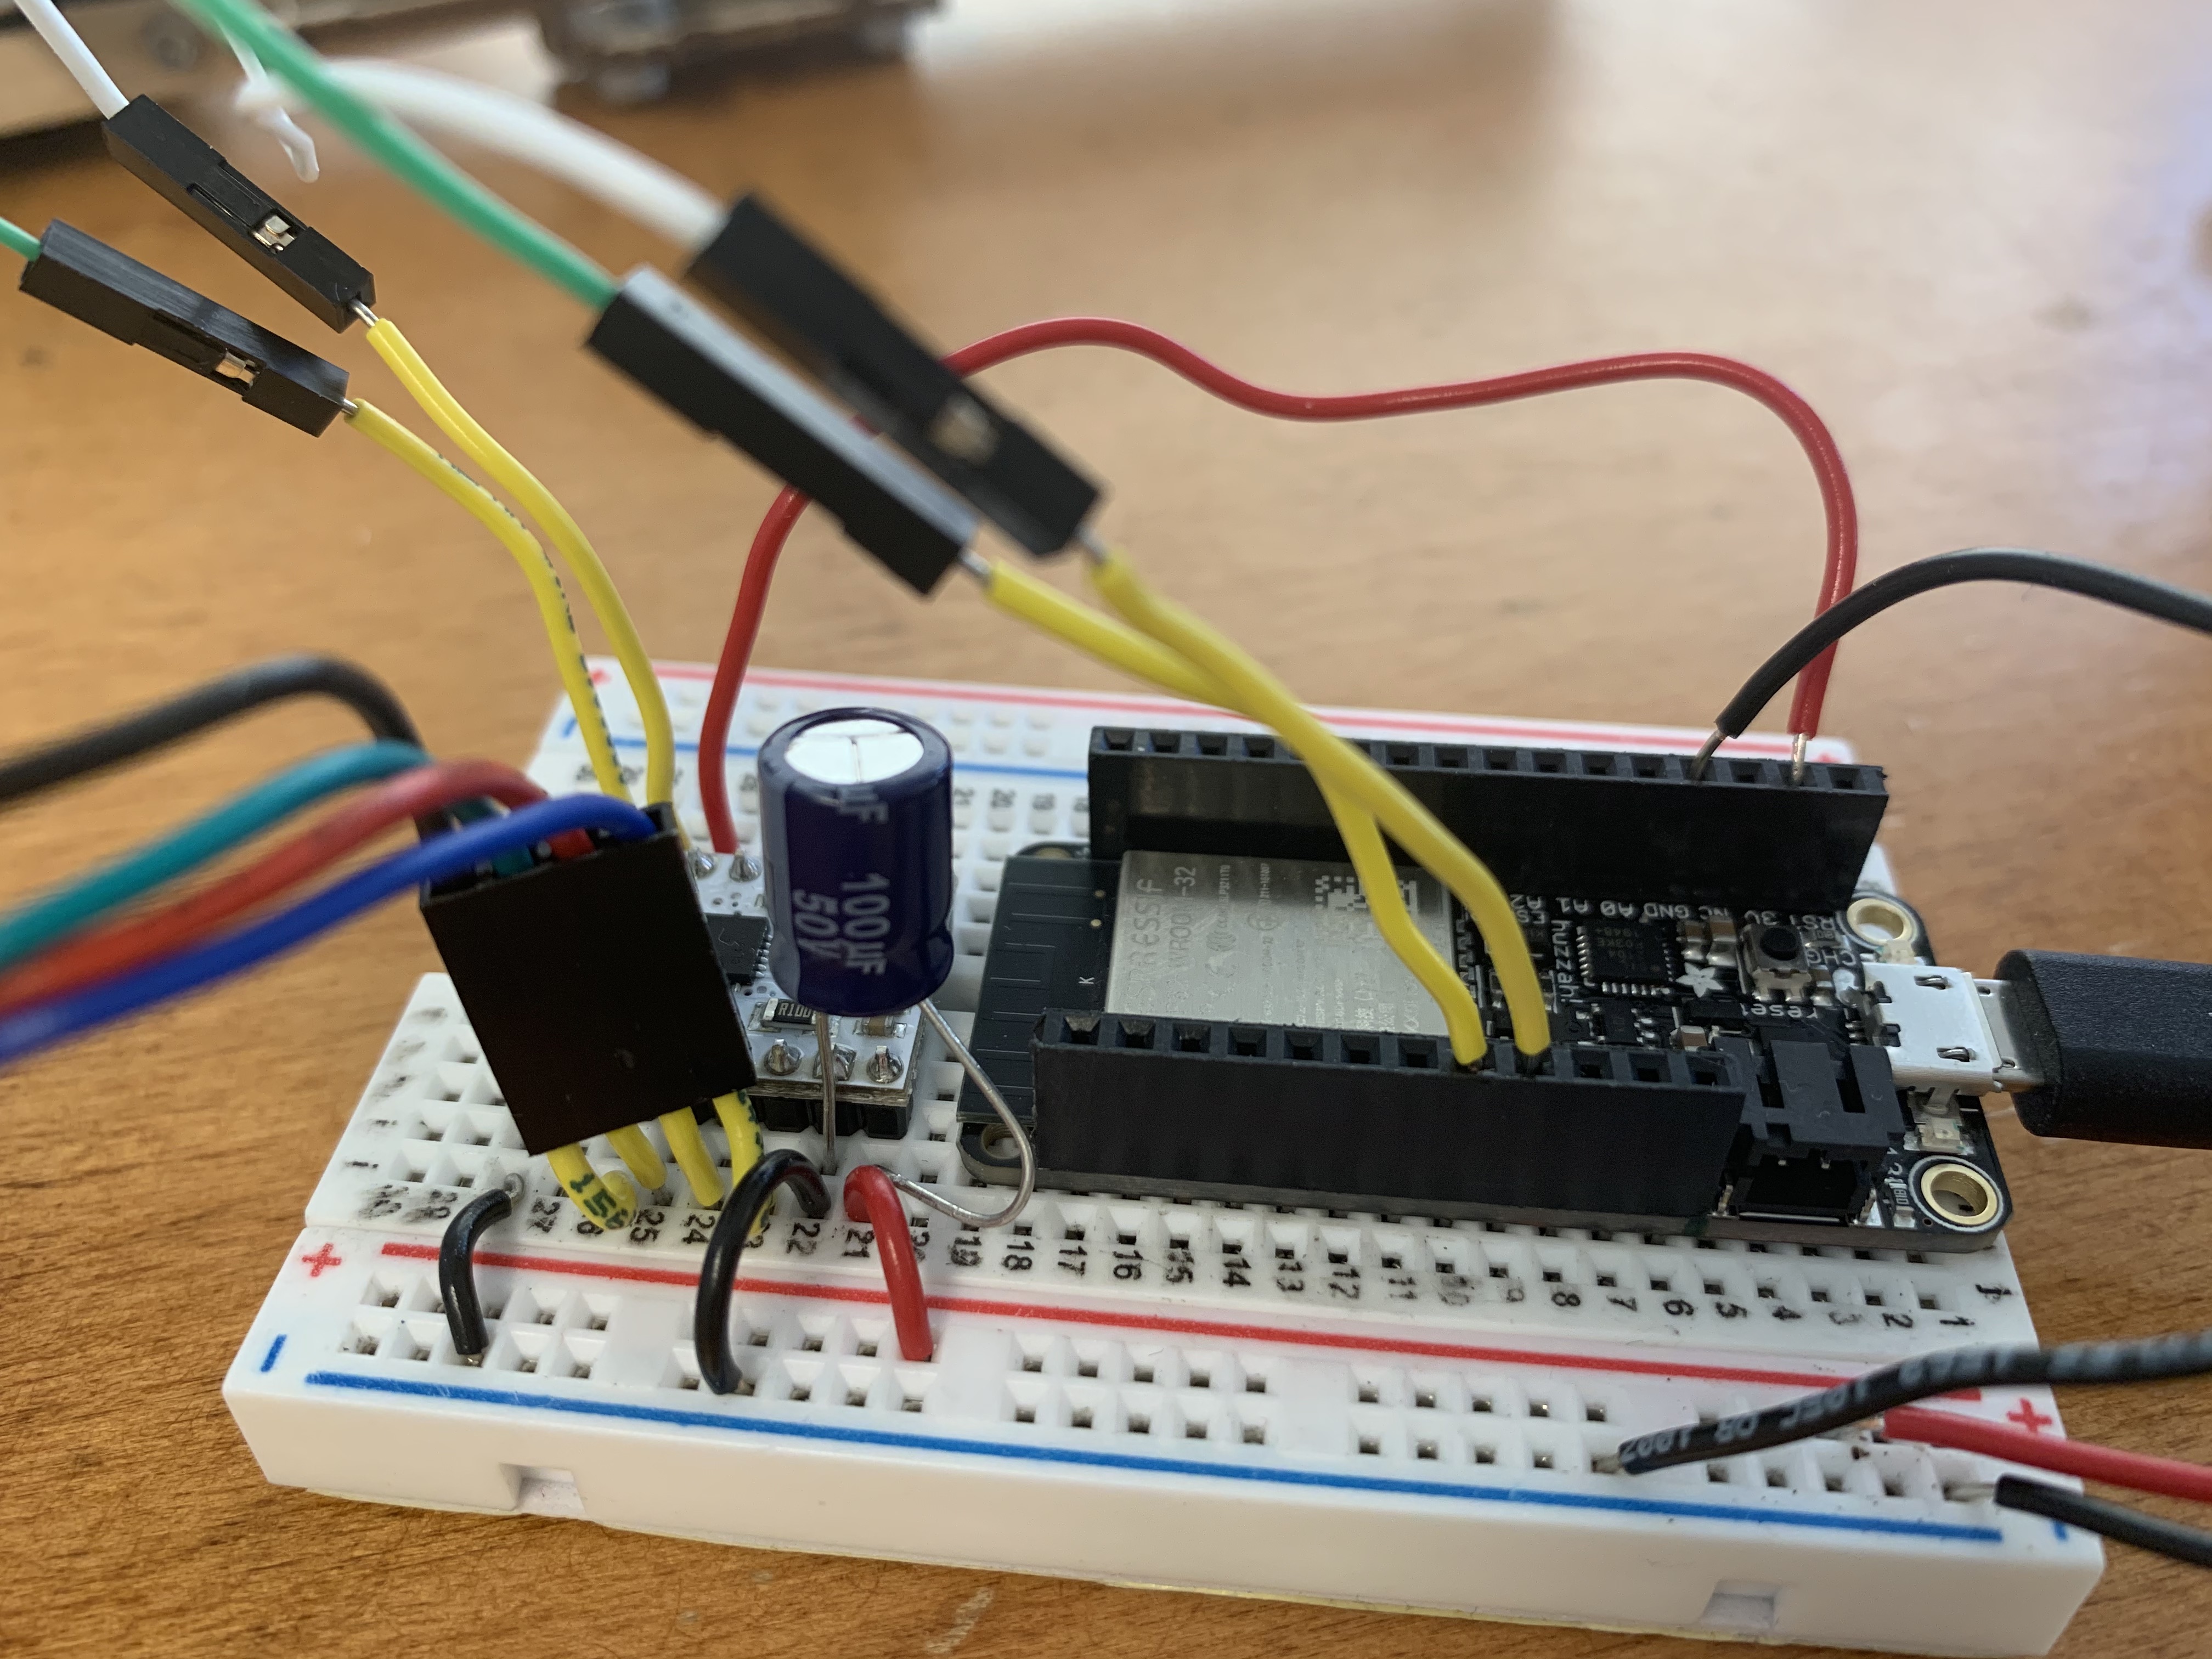
I then tested the code at the most basic level to see how well my machine worked. This code controls the chopper driver by sending pulses to the STEP pin of the driver.
                const int stepPin = 13;
                const int dirPin = 12;

                void setup() {
                  // put your setup code here, to run once:
                  pinMode(stepPin, OUTPUT);
                  pinMode(dirPin, OUTPUT);

                  digitalWrite(dirPin, LOW);
                }

                void loop() {
                  // put your main code here, to run repeatedly:
                  digitalWrite(stepPin, LOW);
                  delay(50);
                  digitalWrite(stepPin, HIGH);
                  delay(50);
                }
It works!
Now I wanted to try using the Arduino Stepper Motor Library and the AccelStepper library to try different driver configurations, acceleration/deceleration, and non-blocking functions. Here’s the example code that randomly changes speed, position, and acceleration:
                #include AccelStepper.h

                const int stepPin = 13;  // blue
                const int dirPin = 12;   // orange

                // Define a stepper and the pins it will use
                AccelStepper stepper(1, stepPin, dirPin); // initialise accelstepper for a two wire board

                void setup()
                {
                }

                void loop()
                {
                    if (stepper.distanceToGo() == 0)
                    {
                    // Random change to speed, position and acceleration
                    // Make sure we don’t get 0 speed or accelerations
                    delay(1000);
                    stepper.moveTo(rand() % 1000);
                    stepper.setMaxSpeed((rand() % 1000) + 1);
                    stepper.setAcceleration((rand() % 1000) + 1);
                    }
                    stepper.run();
                }
And here’s the result!
Now that I have this machine, what do I want to do with it?
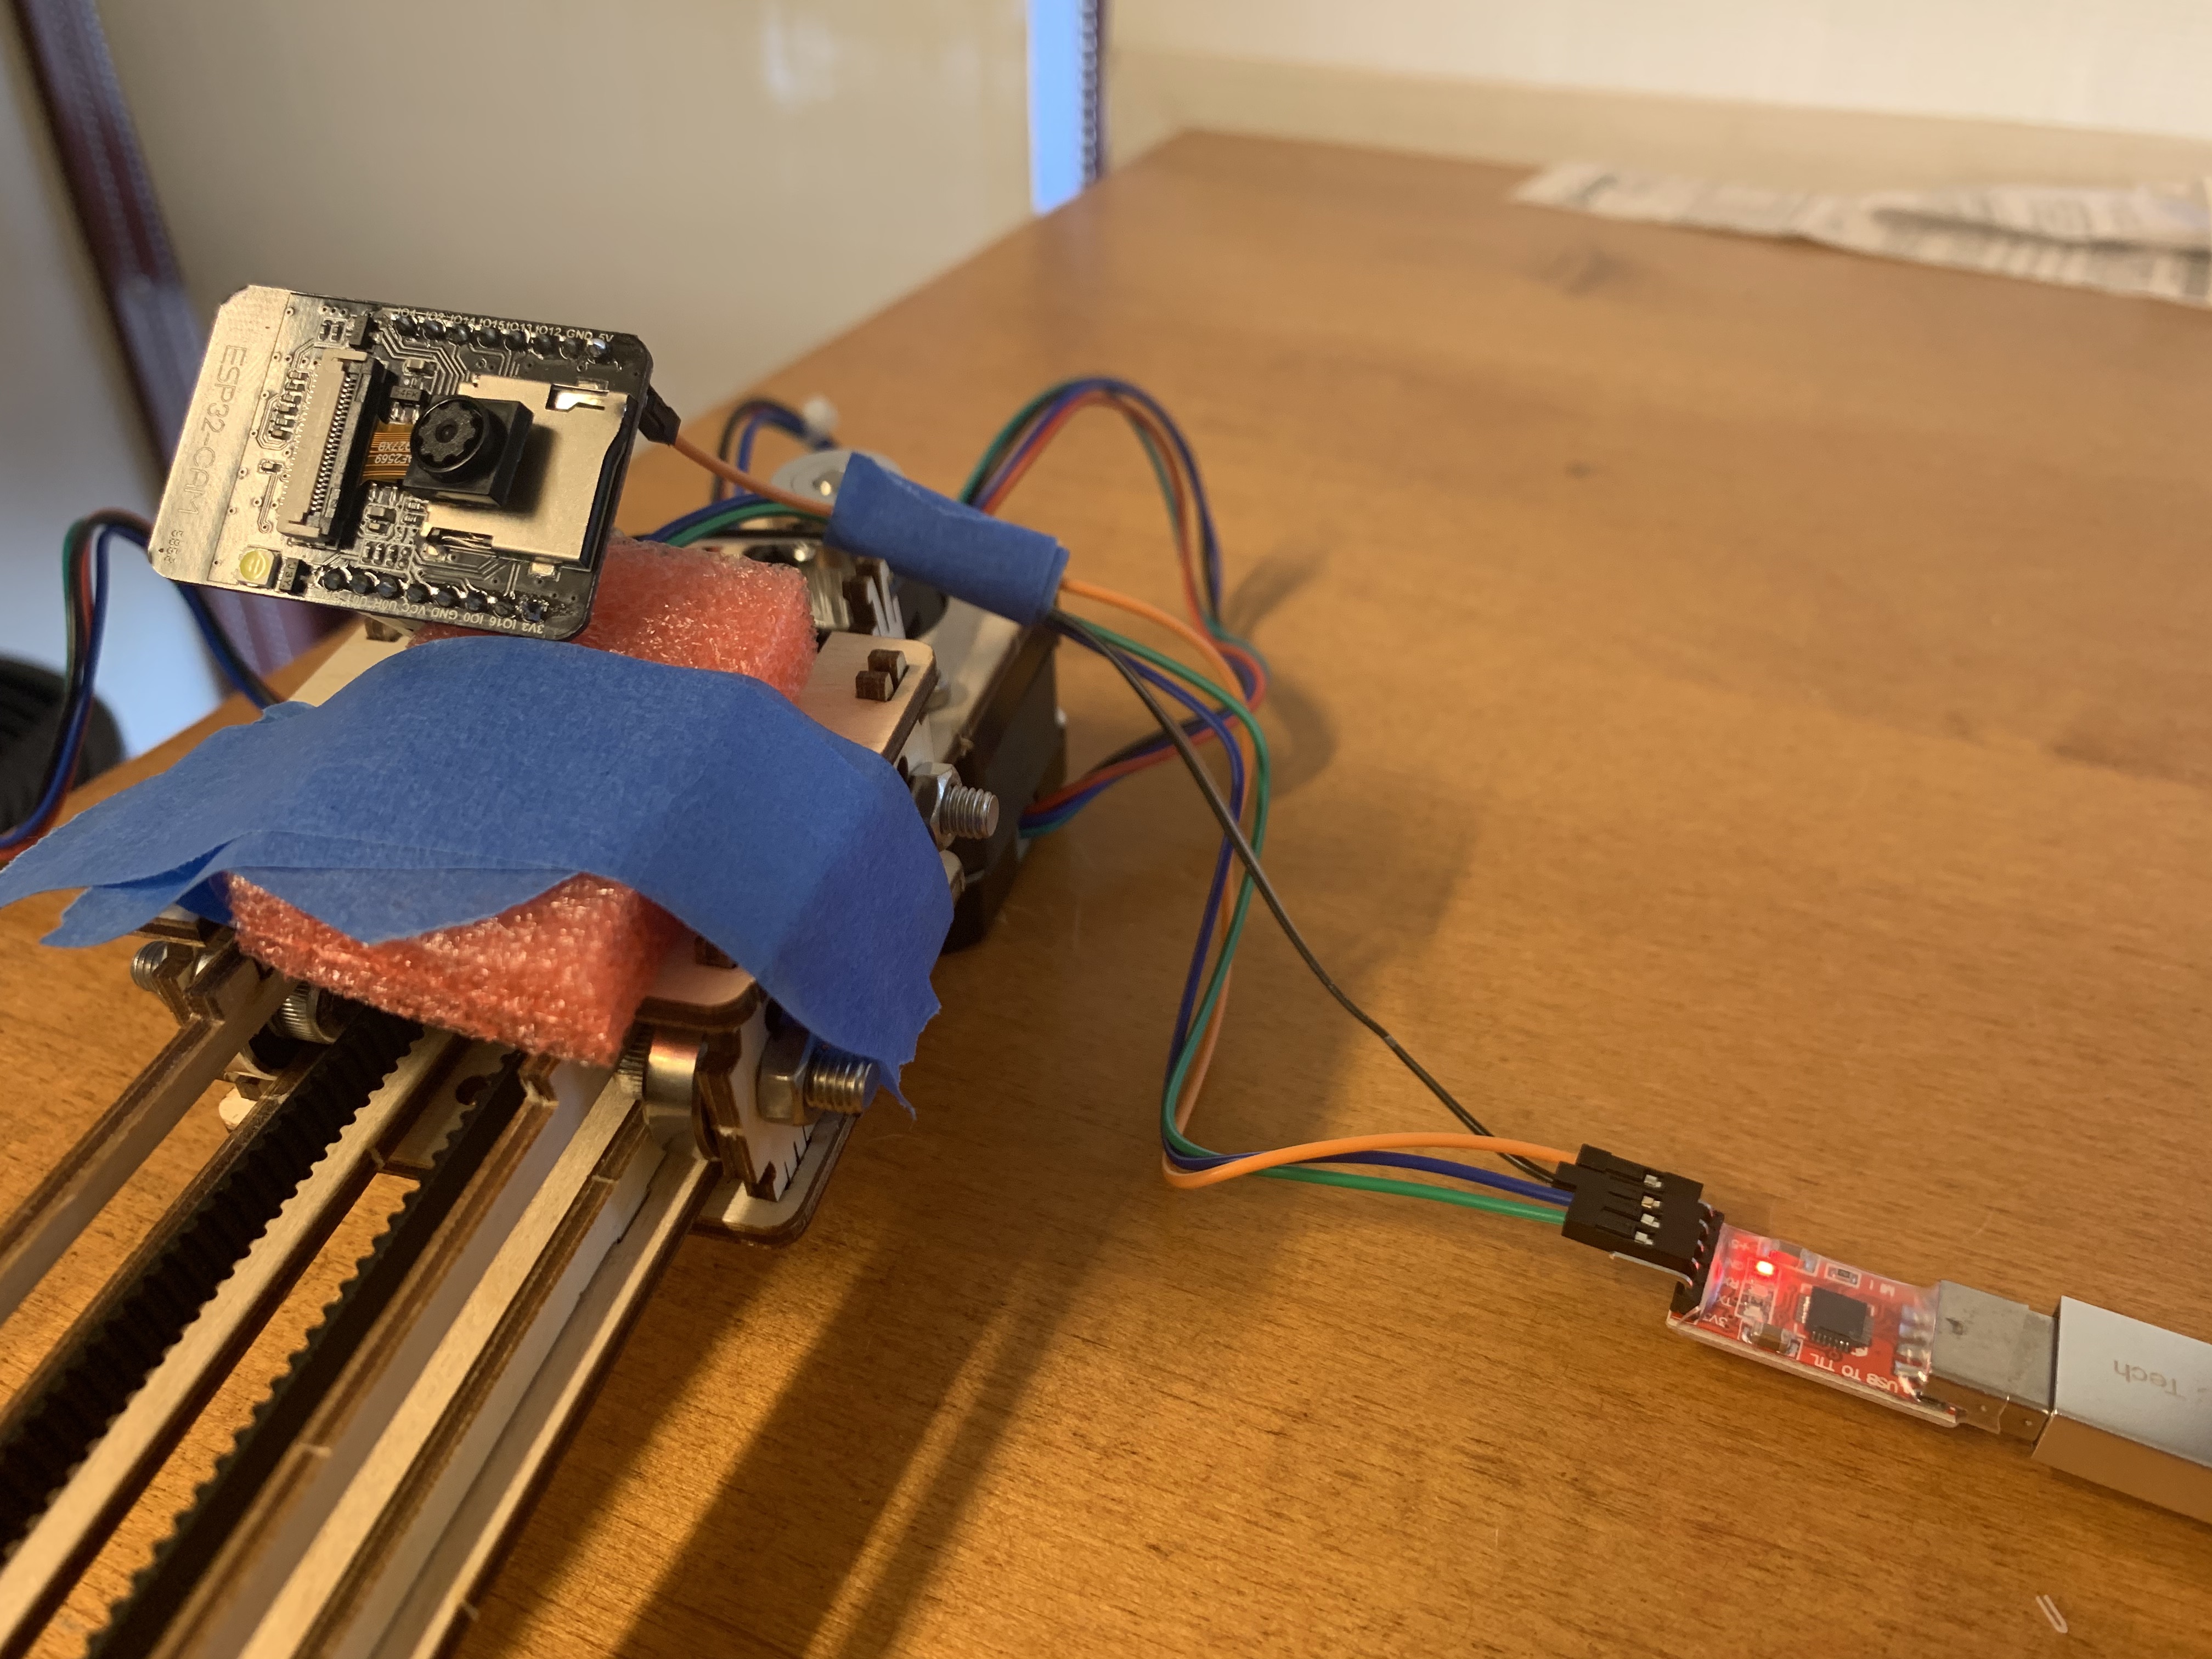
Amy gave me the idea of making a selfie machine! I had never used the ESP32 cam so I thought this would be a cool project to try!
I used these tutorials (Wiring the Board and Using Video Streaming and Installing the Board) to set up the ESP32 Cam by installing the driver and wiring the camera to the FTDI programmer in the kit. Wiring the camera and running the code (File > Examples > ESP32 > Camera and opened the CameraWebServer example) was more straightforward than I expected. Using a foam sheet, some blue tape, and a part from the lasercut pieces to attach on the top of the carriage, I connected my ESP32 cam to my simple machine. I decided to power the cam using my laptop after uploading the code and powered the Huzzah using a USB cable and a wall socket. With my machine and camera connected and my iPhone’s hotspot on, I was able to create a machine that could allow me to try all different angles to take the perfect selfie!
It took much more time than expected to try out the AccelStepper library; it took me a while to understand the code and the stepper motor libraries, as well as how to convert steps to linear travel distance. With some example code and inspiration from Amy's site, I figured out how to use this code to make my pulley run properly, setting the steps to 1000 across the pulley, max speed to 500, and max acceleration to 500.
                    #include AccelStepper.h

                    const int stepPin = 13;  // blue
                    const int dirPin = 12;   // orange

                    // Define a stepper and the pins it will use
                    AccelStepper stepper(1, stepPin, dirPin); // initialise accelstepper for a two wire board

                    void setup()
                    {
                    }

                    void loop()
                    {
                    if (stepper.distanceToGo() == 0)
                    {
                        delay(1000);

                        stepper.setMaxSpeed(500);
                        stepper.setAcceleration(500);
                        stepper.moveTo(1000);
                    }
                    stepper.run();
                    if (stepper.distanceToGo() == 0)
                    {
                        delay(1000);

                        stepper.setMaxSpeed(500);
                        stepper.setAcceleration(500);
                        stepper.moveTo(-1000);
                    }
                    }
I would have liked to explore more ways to make the pulley run smoother, but overall I enjoyed learning a lot about machine building, stepper motors, and the ESP32 cam!